Showing posts with label Molds. Show all posts

Thursday, June 6, 2019

Wargame News; First the Good News...

   BORE WAR-NING!  Before going on vacation, I had ordered two Airfix molds from Germany; copies of old Schnieder cavalryman and horse molds. I also found Frying Pan and Blanket Amalgamated's address and sent for a list of their figures, and found on Ebay of 54 old Wargamer's Digest that I bought.

   The molds were to arrive the day we left on vacation. They didn't arrive.

      When we got back from vacation, the molds were in the mailbox, along with a week's work of mail and an infestation of ants mixed in the mail. First sign of the ants is when my wife pulled the mail out and screamed and threw the mail across the lawn. After sorting through the mail and clearing the ants off it, I found the return letter from Frying Pan & Blanket Amalgamated. The letter informed me that they no longer take orders. As I had decided to use these figures for my War of 1812 project, I found myself back to square one with that project. When I entered the house my magazines had arrived. My stepson had stopped by the house and found the box and  brought them in. Unfortunately, that week we had drenching rains, and the box sat outside during them. When I opened the box, the rain had soaked through the box and the seller had just put them in the box with no wrapping on them. I had to use the spare room as a drying room for the magazines that were soaked through, hoping that the magazines wouldn't turn to paper mâché.

  I was somewhat disappointed with the cavalryman mold, as it showed on the illustration that among the different heads were dragoon heads. However, instead there are several heads with late 19th century caps and no dragoon helmets. Also to put the plug heads on, I need to drill holes in the body, a tricky proposition for me with my shaky hands. Still, it might be a helpful mold in my 40mm projects.

    One plus is I got a copy of the first war-game magazine I every owned. I bought it new at the local hobby store. Unfortunately, I lost the magazine during different moves. I am looking forward to reading it again.


Wet magazines in the "drying room". Luckily the pages didn't stick together and they all seem readable.


The copy of the first wargame magazine I ever owned. One of the main reasons I bought the lot.

One reason I loved this particular magazine were the maps drawn for the article on Quatre Bras. When I got bored in school (which was often) I would draw up battles using the little slash regiments as shown in the photo.

After looking at the magazine, I now think that maybe these maps are why I like my 2mm block armies.


The Airfix illustration of the cavalry figure, and the actual casting.

In this picture, I have drilled out the plug hole and attached 2 lancer heads. They should be useful figures.


Sunday, March 3, 2019

Another Mold to Distract Me

      As I made my last mold, I noticed that the rubber was getting low, but it also seemed to be solidifying. I'm not sure if it was because it had been in the cold basement, or was reaching the end of its shelf life.  I decided to use the last of it quickly. I brought the rubber upstairs to warm up.  My choices for a figure was either a SAE British Colonial infantryman advancing, or a SAE British infantryman charging.  I have long disliked figures charging, with one leg kicked back high in the air; perhaps because of my disappointment with Esci's Zulu War infantryman with the exaggerated charging position.  However, the picture that inspired these molds shows infantrymen in this charging position. And so the mold was made of the charging infantryman.
The original inspiration for the last two molds.

The completed figures. There is a groove down the front of the helmet that isn't visible in the picture. If these figures ever get any serious use, those grooves would need to be filled.

The figures in roughly the same position as the Little Wars drawing.

Perhaps now that these molds are completed and figures poured, I can go back to the project I was working on before my "midnight madness" distracted me.

Wednesday, October 18, 2017

Downsizing

      I have come to the conclusion that I am a packrat and must start clearing away stuff I have collected over the last 30 some odd years.  I have already started going through my model boat magazines, cutting out articles I want and throwing away the rest. I have to start thinking if I will do the same with my wargaming magazines; although I have decided to leave my Practical Wargamer magazines intact.

    I also have decided to get rid of most of my plastic toy soldiers, along with many of my toy soldier molds. I haven't quite decided how to go about disposing of them. I would like to find people who would put them to good use; preferably for postage only.  Right now I'm concentrating on getting rid of books and magazines that I haven't looked at for many years.
Some of the molds I want to go through.


Just some of the plastics that I am going to get rid of.


Sunday, February 12, 2017

New Ideas for Casting

    I had no intention of posting this week. It's not that I haven't done anything with the hobby, it's just I have no ambition. I did receive this week, several lots of 1st generation Napoleonic Minifigs, with several strips that are new to me. Besides painting some figures and having a couple of wargames to try out some ideas, there is little I had to report on.

    A couple of posting ago, I used some home cast Peter Laing goose-stepping Germans in a game. I forgot how much I liked these figures.On a whim I decided to try to cast some today. Usually I have had little success casting in the cold basement in winter, and expected little luck today.  Today, however, was a very productive session. In an hours' time, out of 28 casting, I had 24 usable figures.  But best of all, I found a more productive way of casting. Now I am sure more experienced casters already do this. If you do your own casting, you know that you have to wait for the metal to solidify, usually about a minute. Before I would stand around waiting. This time, after cutting off the pouring spout off the figure, I  found that the figure was cool enough for me to handle without gloves. I got a file and filed the base while I waited for the metal to cool in the mold. I came up with a new system of casing. It involves 1: Pour the metal into the mold. 2: As the metal solidifies, cut the pouring spout off the cast figures and return the spout to the pot. 3: File the base of the newly cast figures. 4: Once the figure bases are done, open the mold and remove the casting; inspecting the figures as you remove them. If the casting is poor, put it aside for now. 5: Put the mold back together and pour a new casting. 6: Remove the pouring spout, and put the spout and any defective casting back into the pot. 6: Repeat. By doing it this way, I was busy the entire time I was casting. I also managed to clean the figures up and base them on plastic that night, so the figures are ready for priming tomorrow.

* I WOULD CAUTION PEOPLE TO BE VERY CAREFUL PICKING UP NEWLY CAST FIGURES WITHOUT GLOVES ON, SUCH AS I DID. I BELIEVE THE SMALL 15MM FIGURES COOL RAPIDLY. LARGER FIGURES WOULD PROBABLY TAKE LONGER TO COOL.
Some of the newly cast figures.

Some figures waiting to have their bases filed.

A check list I wrote up so I would remember next time.

Friday, August 7, 2015

New Books and Mold

My hunt for books on the British Army during the Victorian colonial period has brought some good books my way. I have received three in the last two days.

      I have also tried to make a mold of Peter Laing Sudanese Dervish infantry. The figures are poor at best. The weapons and arms wouldn't form properly. I suppose that with a little work they could be used for a battle or two. I must admit that I am growing frustrated with my lack of progress in mold making.


Sunday, July 12, 2015

More on Molds and Casting.

   I was working on painting some of the newest Victorian Parade marching figures. After examining the figures, I brought up the mold and did a little work on it. A quick casting session and I found that I now had more usable figures. It was another lesson in casting, always have good lighting, magnifying glasses, and a sharp hobby knife, all of which I haven't  had in the last few casting sessions.

   I also spent more time prepping the figures. I trimmed the mold lines more than normal. Also the back peak of the helmet stuck out more than I like. This time I used files and a hobby knife to shape the helmet so it didn't look like a tropical pith helmet. The photos below will show what the little extra work to the mold and figures resulted in.

   Donna and I are preparing for another week of camping. I poured some more figures to take along with me. While going through my log of molds, I came across one of the first molds I did, a mounted Victorian officer in a spiked helmet. I casted a few of these. I was disappointed originally with this mold as the spike didn't form correctly. However, I really never painted any of these figures up so I'll bring them along and finish some of them.  I've been toying with the idea of forming 12 man regiments of Peter Laing Victorian Parade figures; these mounted officers could be their colonels.

   I also did get a war-game in this weekend. I dare say it really isn't worth the effort to report on. I will just post a couple of picture of the action.
The figure on the left is before I worked on the mold, the figure on right after. As can be seen the arms and base are complete on  the right figure. I also tried to shape the helmet to look more like a home service helmet.

You can see the difference in the helmets. The figure on the right still needs some paint before getting its' coat of gloss lacquer.


The Brookshire army (on left) is trying to hold onto the crossroads, the Shiak army is trying to  seize it. This game was based on ONE HOUR WARGAMES scenario #27.

The Shiak army formed two units of jagers for this campaign.

The Shiak army captured the crossroads. Brookshire reinforcements arrived (including a unit of cyclists) . The Brookshire counterattack falters and Shiak wins the day.


Friday, January 23, 2015

Peter Laing War of 1812 Militia

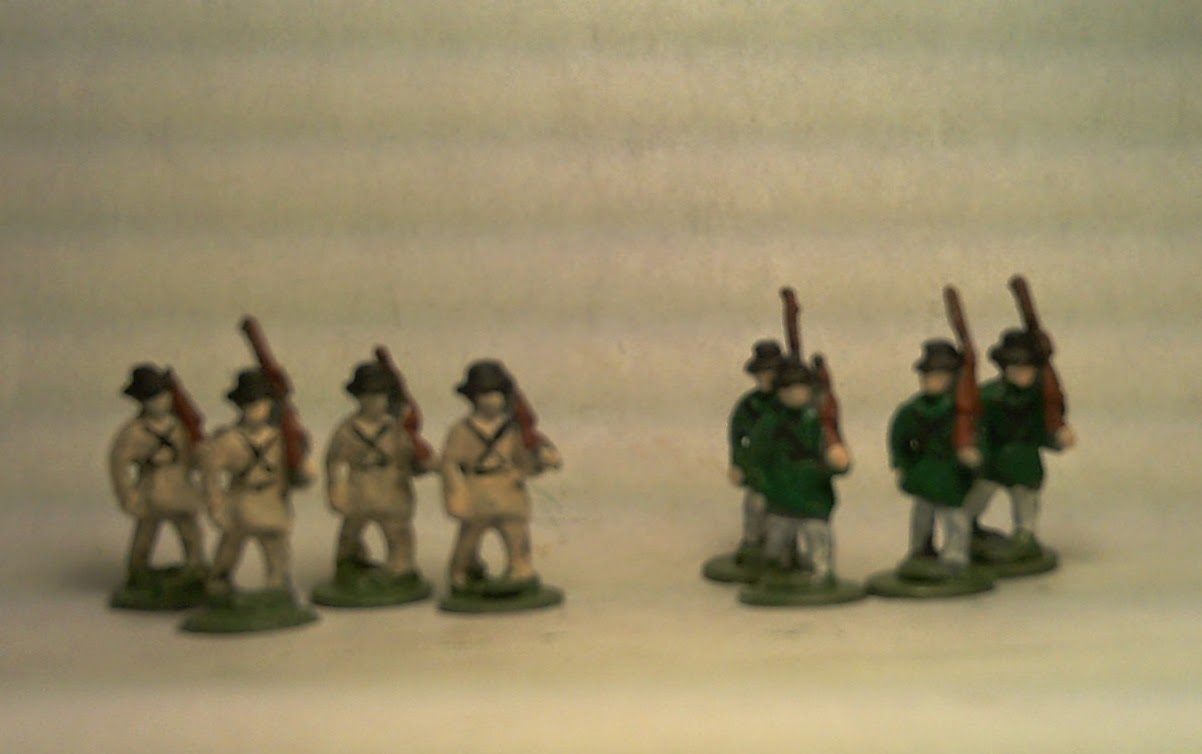
      As mentioned earlier, I have been toying with an 1812 wargame  using Peter Laing figures. I also came across a good blog on War of 1812 wargaming, named, not surprisingly, warof1812wargaming.blogspot.com . On this site there are very good illustrations of uniforms from the period.  Among the uniforms are militia units with top hats and hunting frocks. I made a mold of the Peter Laing figure of a frontiersman marching, which is a good figure for these militiamen. Today I painted up some to represent a couple of militia units.

These figures are quite rough. If this project continues this figure might need a better mold.

Tuesday, October 21, 2014

Peter Laing ECW Cavalryman Mold; the 64th Time is the Charm

     The Peter Laing mold  made before going on vacation was tried out today.  After a little work on the mold, the figures were the best I have managed to cast. Of course, the master was painted with a thick coat of enamel paint that I couldn't remove and the base was flocked, so there is no detail to the figure. Still, for my project they will do fine. The pictures are poor as I still haven't found my camera and used my cell phone to take the pictures.


Friday, June 21, 2013

Great Buy on Toy Soldier Molds

It was one of those deals on Ebay that I don't even know how I found it. They were a set of 16 toy soldiers molds. The only thing is they weren't under "Toy Soldiers" but under "Vintage" molds.
 When I first started casting 30 years ago, these were some of the first molds  I was interested in buying. Over the years I bought six of these molds.  The first copy of "Little Wars" I bought had some of these figures on the cover and after seeing that, put in my mind the possibility of casting my own Little Wars army using these molds. I managed to win the the lot and it comes out to more than $4.00 per mold, and that's including postage! I got all the molds for the figures pictured below, along with 2 molds of interchangeable arms, and a rather risqué mold of a ACW camp follower. The arm on the running officer and the soldier with the axe is interchangeable.

Another set of molds I own have different heads for the British army of this period and I have experimented with using these heads with the bodies from these molds. I also have some assorted heads I got in an odd lot of toy soldier parts which might be useful.

Wednesday, May 1, 2013

New Toy Soldier Molds

While on Ebay a couple of weeks ago, somehow I came across these molds, which were on the German Ebay site. I got these  molds; unfortunately I could only afford two of them and missed out on some more. I was hoping these would be the same size as Zinnbrigades, alas, no. However, they are nice figures and sometimes I think of maybe trying to sell toy soldiers at local craft fairs. These would be nice additions if I ever do take the plunge.

Thursday, December 20, 2012

First series done

I have finally completed the first series of molds using the newest RTV rubber. I was able to produce 15 molds.The cost of the rubber, including shipping & handling was around $50.00. That comes to a little over $3.33 per mold. That is better than the nearly $12.00+ per mold with the previous rubber used. Still, some of the figures are pretty useless. I sent a batch to the person who lent me the original master figures to get some independent feedback.

Saturday, December 8, 2012

To Tell the Truth

    If you have a blog that you tell people how to do something, say make toy soldier molds, and by following your own directions, the project appears to be an utter failure, do you come clean and write of that failure?  That is the situation I found myself in earlier today.

  As I mentioned earlier, I had been producing 2 molds a day. On Friday I finished the molds for the selected figures, a total of 12 molds. This last week I had been getting out of bed 1/2 hour earlier than normal (at 4:00a.m. instead of 4:30a.m.) to pour the mold halves. It seemed well worth it to finish these molds.

What's more, on arriving home from work the much anticipated metal was in the mailbox. I quickly got the dog out for her walk, then settled in to start the casting.  As the metal melted I prepared the first 3 molds for casting.  The first casting didn't come out, as usual. However, as the afternoon wore on,only a couple of usable figures were produced. Even vents cut into the molds didn't improve the results.

 I called it quits after over an hour of failure. I went to sulk over this turn of events. I figured in the morning I would try again, using only 3 of the molds that looked best. Meanwhile, I enlarged the opening hoping that the increased metal would help.

Saturday morning was another dismal failure; this time a couple of figures, but not worth the effort. I ran everything through my head, why are these figures failing when I had reasonable success before? I did not want to think it is the rubber, as the new rubber is easier to use than the last couple of rubbers. I started thinking of different metal, so I googled the toy soldier companies that deal in molds and supplies. While doing so I came across a video by Prince August Co. " Proper venting of molds". After watching this video, I realized I had not vented the molds properly.  After venting the 3 molds I had tried that morning, I once again heated up the metal. In the first run, two out of three molds produced usable figures. By the end of an hour, I had a nice little stack of usable figures.

 Of course, one must understand the figures are usable to me for my wants; if one knows the detailing of Peter Laings, and then realize that there is less detail on my figures, it will become obvious that the is no money to be made from my production.  And as I mentioned in an earlier posting, if you are seriously thinking of making your own molds, there are websites with better information than this.

Tuesday, December 4, 2012

Today's progress

In the last couple of days I have managed to produce 2 molds a day. If I can keep this up my planned molds will be done by Friday. Now if the casting metal on order comes in by then, Saturday will be used for casting.

My next project is to figure out how to take pictures and post them on this blog.