Showing posts with label Mold Making. Show all posts

Tuesday, February 19, 2019

And Now, a Successful Mold

       It's weird what I think of when I wake up in the middle of the night. This night I woke up thinking of SAE figures and how to use them for Little Wars. There is one line in my first copy of Little Wars: " His fire met my advance, littering the gentle grass slope with dead,..." and next to this line, one of J.R.  Sinclair's margin drawing of what looks like Boer War British infantry charging through a barrage of wooden shells that inspired my next mold. I have some SAE British Colonial infantry that are painted with the traditional red coats and with pith helmets. I decided to try to mold one of these figures that I could paint as Boer War infantry.

    Next day I went to work on the mold using the same procedure mentioned in the last post. Below is the result.
The master after pouring the first half of the mold.

Start of production.

Fresh out of the mold. At this point I would put the mold back together and pour another  casting. Then I cut the pour spout off and return it to the pot; file down the base, and trim any flashing off the figure. By this time the next figure can be removed from the mold.


Some of the casting next to the master.  

Sunday, February 17, 2019

Mold Making


I said recently that it might be time to do a post on my mold making. Here it is.

In the past, I decided that if figures I wanted can be bought, I would save myself the work of casting my own. With my recent work on SAE 30mm Civil War figures, my collection has no cavalry ready for use, although I have several that are broken off their bases. I went to the Spencer Smith website, but they didn't have the figure I really wanted for my project. Also, right now money is tight.  As I have the rubber to make my own mold and the figure I wanted, my plan was to try to join the two pieces as close together as possible and hopefully carve any rubber off to unite the two pieces.

The master placed in clay. Try to find the original mold lines and follow the same. The  keys are made by sticking a paintbrush into the clay and rotating it to make a cup shape. For the box, I used. two pieces of  "L" shaped metal for the box. As can be seen, it is easy enough to make the box larger or smaller. Some people use Legos to make the box.

Aeromarine 125 2 part RTV silicone rubber. It's easy to measure, as it's measured 1:1. 

I have learned to measure A first, then B. I use a tablespoon to measure it. Usually  I use 3 tablespoons of each  for molds. As this mold is larger than most, I upped it to 4 tablespoons.

Pouring the rubber into the mixing cup. The cup is easy enough to clean. Just wait for the rubber to set then peel out the dried rubber.

After getting the rubber measured out, then stir until it's a uniform color.

I usually drizzle in some of the rubber into the keys so as to stop air pockets  from forming.


I  drizzle the rubber over the figure,  then work the rubber around the figure. I  wait a couple minutes, letting air bubbles pop.

Then slowly pour in the rubber.

This rubber cures in 8 hours, which speeds up the mold making process. If there is rubber film where there shouldn't be, gently cut the rubber and remove the film.  I then cover the exposed rubber with petroleum  jelly. I use an old paintbrush to work the jelly in. This is the mold release. Then repeat the above process.

I would love to say it produced the figures as planned. However, I couldn't get the mold to work right, and so the mold isn't a success. I have decided to order the figures from Spencer Smith, even if they're not what I wanted.  I did make another mold, which was more successful. I will show more on that later.


After several attempts at making the mold work, I still was unable to. I wasn't going to show this, but the reality is not all molds work as you hope. 

Saturday, December 23, 2017

New Casting & a One Day Wonder Army

      This week I completed a mold I had started week before. When casting figures from this new mold, I decided to try to use a melting pot bought years ago. I had little success using it and put it aside, using a hot plate setup instead. As I have stopped using scrap metal, and knew the melting point of the metal, and after doing some research online about the Lee pot, I decided to give it another go.  It worked as I hoped it would, and got good usable figures. The pouring spout takes the trial of pouring consistently out of the equation.

    On Wednesday night I decided to make a mold using the Peter Laing marching Guard figures. As the rubber being used cures in 8 hours, the next morning when I got up, before going to work, I completed the mold. My plan was to try to do some casting after work, and the mold should be complete at that time.  It was also going to give me an idea if the pot would work well with 15mm molds. I am happy with the results. I believe the new pot keeps the temperature of the metal consistent, as the problem with the metal "crystalizing" didn't seem to happen.

   After casting the figures, they were brought up for trimming and basing. I completed 18 figures, enough for 4 infantry units and one artillery unit. So in a 24 hour period, the mold was completed, the figures were cast, cleaned and based. And all that in spare time on an average work day. I do believe if I had set aside a day, I could have in that 24 hour period, produced from making the mold to final painting, a complete army.


The melting pot back in use. I stopped using it when the pour spout blocked up and I couldn't get it cleared out. I believe debris and paint from the scrap metal being used got into it, along with metal that probably wasn't melted to the right temperature.

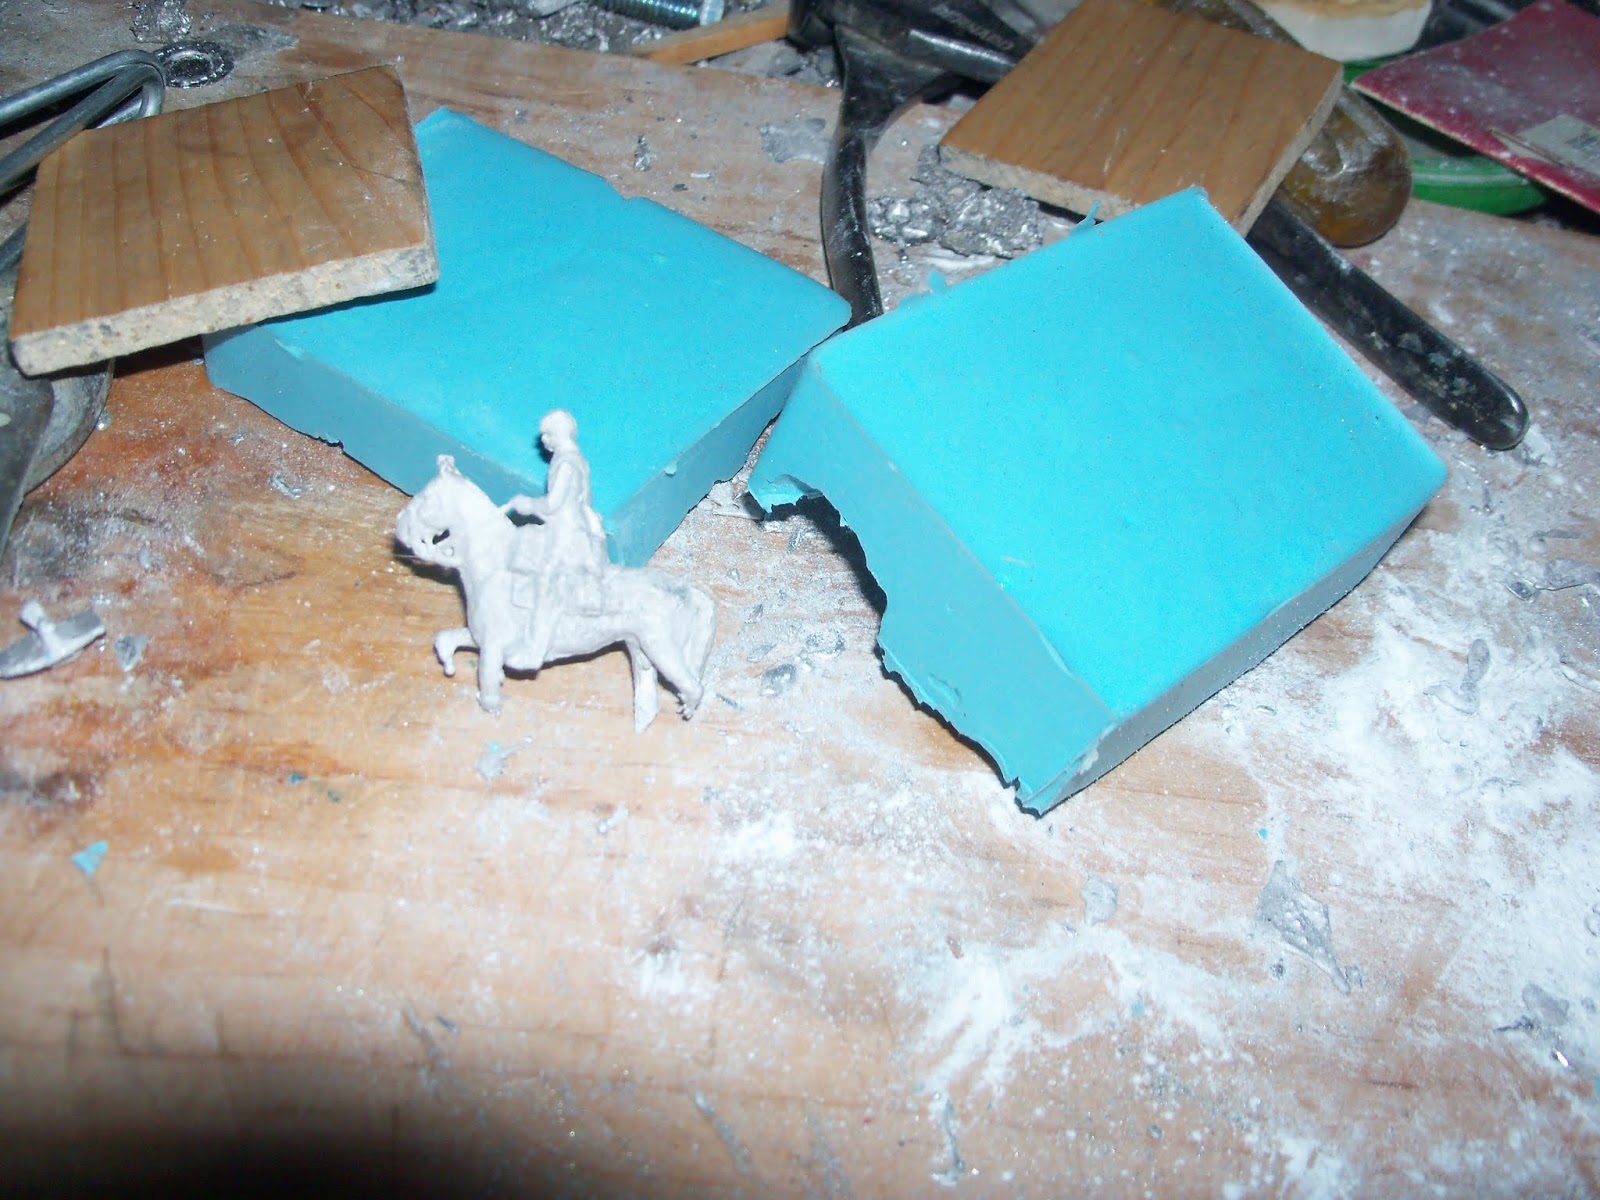
Three of me new figures for use in Backyard Wars.


My new One Day Wonder army. The cavalry figures and general are original Peter Laing figures.

The figures receiving their toy soldier paint jobs. As I was painting them, I realized that they were receiving the same uniform colors that some of my Airfix Guards figures were painted with. I had painted the Airfix figures that way, thinking they would look like Napoleon's Imperial Guard, that could be used with my Airfix French Napoleonic figures.
 I have decided that these figures will represent my old toy country, Shiak, in future games.

Thursday, July 9, 2015

Two Steps Back

    It seems that I have taken a big step back in my mold making. Of the last 4, only two seem to make usable figures.  I am preparing for another week of camping.  Perhaps time to rethink how I'm making the molds.

    I am also planning to bring a couple of Byron Farwells' books with me. I have started reading MR. KIPLING's ARMY ( this will be for the third time) and will try to start ARMIES OF THE RAJ. Perhaps that will be motivation to work on the PL colonial Indian troops in my collection.
Two of my casting of Egyptian Camel Corps. Unfortunately I broke the rifle off the master. I am thinking of getting a small drill that I could add rifle barrels to the figures.

ECW standard bearer. The space between both set of legs is solid metal. I was thinking that this figure could be used as an ACW guidon bearer. Not a great success but can be used in a pinch. I also made a mold of an ACW flag bearer on foot; again, the space between the legs are solid, but still the figure breaks at the legs. 

My FOURTH  attempt at the Victorian Parade marching figure in a spiked helmet. Another figure that is a disappointment  but could be used.

Thursday, June 4, 2015

Kit Bashed Figure

For my newest mold, I took one ECW Minifigs body, and added a head from another Minifigs 1st gen figure. I plan to use it as a King Phillips War colonial figure.
The masters ready for molding.

Painting on a thin layer of rubber onto the figures. I waited for a couple of minutes before adding more rubber.
Another layer of rubber painted on.


Pouring the rest of the rubber into the mold. Once cured I use petroleum jelly on as a mold release,  then  pour the second half of the mold.

The finished figures.


Saturday, May 30, 2015

New Army Plans and New Figures

      Right before going camping last weekend, I had got the 3 Neil Thomas wargames books I had ordered. The long weekend of camping gave me time to go through the books. While I am not necessarily going to use the rules, his army lists are going to be of big use. With the different war-game rules I use, such as BATTLE CRY, C&C; NAPOLEONICS, BATTLELORE, and MEMOIR OF BATTLE, his 8 unit armies are just right for these games. With 4 man infantry units, 3 man cavalry units, and 1 gun with 2 men crews, using his army lists it would only take 34 figures to make a ECW Royalist Army, and the New Model Army would take 43 figures. Of course not all the figures would be used but that many figures are not beyond my painting skills.

   I received my new rubber for making molds. After some thought I decided that the first mold would be Minifigs 1st generation woodland Indian and Hessian grenadier. I tried some new ideas making the mold, which I think made better figures.
Two samples from the new mold. Only one figure went back into the pot. Hopefully the new method will work as well with Peter Laing figures.


Saturday, May 16, 2015

Preparing for the Next Batch of Molds

     This week the new order of rubber came in for molds. Now comes the hard part; deciding which figures to mold. I have a drawer set aside in which I put figures that are high on my mold making list. While most people would concentrate on making figures for the most current project, I find myself thinking of figures that I only have one copy. Below are 4 figures that are strong contenders for the first mold.
Minifigs Prussian Grenadier, Highland grenadier, woodland indian, and Peter Laing naval officer ( who could also pass for a thin Napoleon).

Monday, April 22, 2013

Finishing and Casting the Peter Laing Molds

Molds after first half dried.

Preparing to pour the second half. Putting on mold release (I use plain petroleum jelly). You only have to put it on the rubber itself; the rubber will only stick to untreated rubber.

I used to pull the mold out of the frame. Now I just carefully push the mold down flat on the bottom. If there is any gaps between the mold and frame, put a bead of petroleum jelly between the mold and frame so the rubber won't seep down the sides of the mold.

Mix the rubber as before and work the rubber around the figures as before.

The molds after they have dried and been separated.

Make sure that the pouring spout is clear so the metal can get into the mold. Also make sure the air vents  are open at the top of the mold.

The molds have been prepared with talcum powder that serves as a release ( you can also use graphite). Boards are used to hold the molds together without crushing the rubber, and then clamped together. I do this as the metal melts.

Carefully pour the metal in a steady pour. Fill the mold right to the top of the pouring spout. Also, make sure the molds are dry. If there is dampness, the molten metal can be ejected out the way it came. Wear safety gloves and glasses.

After pouring the metal, tap the mold on the workbench to help get the metal  down into deepest parts of the mold (roughly about 5 seconds).

Molds after pouring. The first couple of figures might not come out. The molds have to warm up . Now's the time to look for imperfections and see how to get the molds to fill properly.

Here is a shot of the masters and home casts. As can be seen, the hussars sword didn't come out, and the flag looks like it's been through some heavy fighting. I cut a new air vent from the sword to an existing air vent, which seemed to help. The flag is still giving me problem.

Tuesday, April 16, 2013

More on Making Peter Laing Molds

One of my first posts I talked about making molds using Peter Laing figures. I have started a new batch of molds using some new ideas from the last batch. The first four molds seem to be a success. I don't advocate making copies when you can buy them. I would love to be able to buy Peter Laings and make molds as a last resort. I would love to see whoever owns the original molds go back into production.
First step I rolled out clay. I made 2 mold forms and pressed them in the clay so I know  where the figures will be placed. I then put the pouring cone roughly in place. Then the figure is put in. Try to imagine where the seem on the figure would be. I used some solder to make air vents. Then using  the end of a paint brush, make a couple of keys to lock the molds in place when casting.

I use Aeromarine 125 silicone rubber for my molds. It is a great product. It uses a 1 to 1 mix ratio, which is great as I am terrible at figuring out the proper measures. It  can tolerate a temperature of 500 degrees. The drawback is once it is mixed you have 15 minutes to work it. Also, once open it has a 60 day shelf life.  Still, at $5.00 a mold, it is a good buy.

For the molds I make, one tablespoon and one teaspoon of each parts is enough  to create half  a mold.


Paint a little layer over the figures and work it around the figures so as to eliminate air bubbles. 

Once satisfied that the air bubbles have been worked out, pour the rubber until the mold is filled halfway.

The molds at the halfway mark. Another good thing about this rubber is it has a quick set time. I will usually give the molds at least 8 hours to cure. Tomorrow I will try to finish them.