A short time ago Jay was trying to give away some Peter Laing Boers. He approached both Wargame Miscellany and Man of Tin Blogs, both who actually mentioned me and suggested I might be interested. I think that was very kind of Bob and Mark to pass on free (!) Peter Laings. I am not sure I could pass up free PLs. Jay contacted me and of course I accepted his kind offer. The figures arrived and after looking at Jay's address and the PL Boers, I realized that I had seen them before. When I first started collecting PL figures, I did a Google search for them. There were few pictures of them. However, I did find
the Jackson Gamers website and in it there was a Boer War game, by none other than Jay himself. To me, getting these figures is like an Old School gamer getting some Donald Featherstone or Charles Grant figures. Of course, now I find myself deciding if I will leave these figures as is, or painting them. Thank you Jay for these fine figures, I hope to put them to good use. And as often as I use myPL Boers, they should see plenty of action.
The Boers are mounted on metal squares, which I believe were used for cardboard wargame pieces from boardgames. There are good, as the pictures below will show. Jay made small trays with magnetic tape on the bottom, making these an excellent way to transport figures. When I first started gaming, one reason I used washers were to mount the figures on magnetic movement trays. I gradually moved away from movement trays, but stuck with the washers, a necessity with PL small bases. However, I started buying cheaper washers that will not work on magnetic trays.
After reading some of Man of Tin blogs, I started mounting my figures on plastic squares. The figures do not tip over as easily in squares. I find the PL Boers are on squares larger than I like, but they still fit nicely on Heroscape terrain and my homemade squares game board. This has me rethinking the way I am going forward with mounting my figures.
My last posting I mentioned that the new Richard Borg game, Command & Colors Tricorne is coming out soon. And as mentioned, the new dice have two retreat flags on each dice. When I bought Battle Cry, I also bought some custom Battle Cry wood dice. As I have 30 of them, I repainted 4 with the new C&C Tricorne configuration. I also went to
Compass Games website. On it they actually have the rules, (which I still don't understand). I printed out the units cheat sheet, and using this and Stronghold Rebuilt "See the Elephant" rules, and breaking out my first generation AWI Minifigs, fought a practice game. The new dice seem to have lots of promise; the game certainly isn't as bloody as some games I've played. It also has me thinking of rebasing my AWI figures to squares. After reading a Man of Tin blog where he said that besides marking the unit on the bottom of the base, but also their "Battle Honors", I have wanted to go back to organizing my toy soldiers into units.
 |
| My "new" Peter Laing Boers that Jay kindly gave me. |
 |
| A unit of Boers with the metal bases mentioned in dispatches. They do fit nicely on my terrain pieces. |
 |
| Three of my homemade C&C Tricorne dice. |
 |
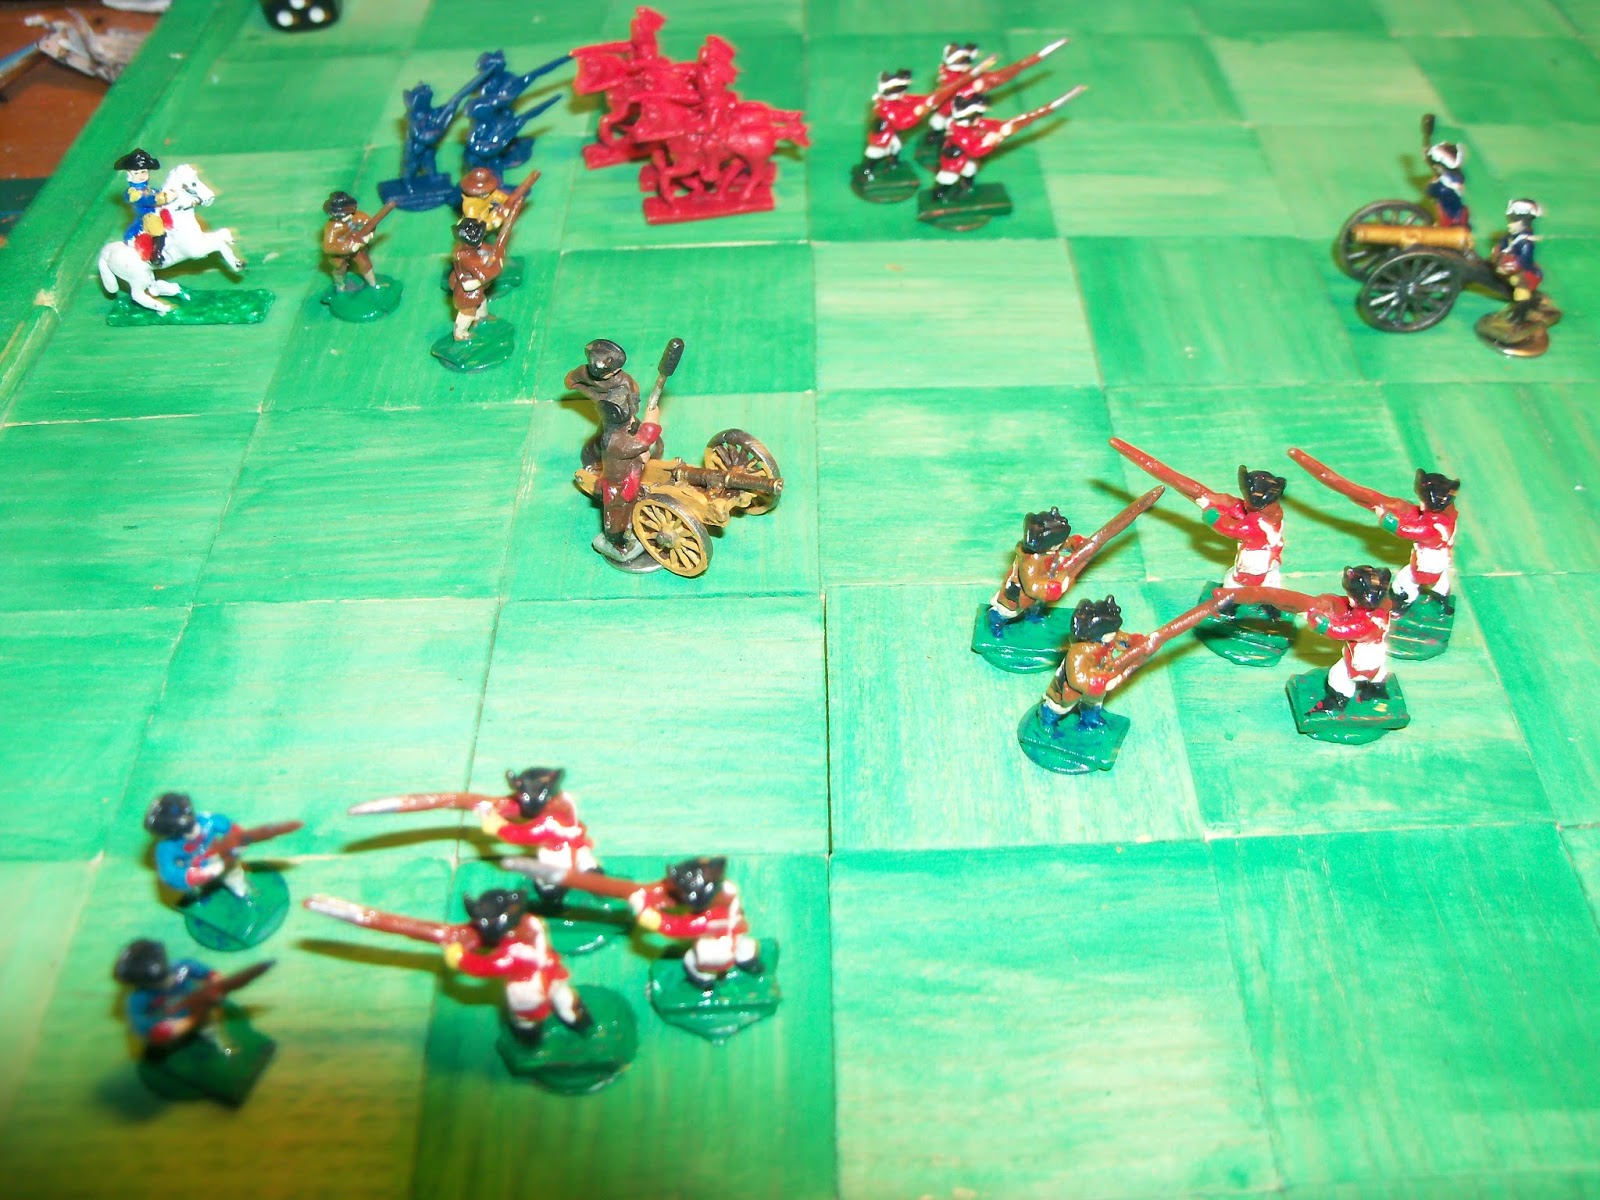
| The American army on the left is made up of three regular infantry, two Provincial infantry, and one artillery units. The British have three regular infantry, two artillery, and one Dragoon units. |
 |
| The 24th Foot pushes back the 12th Continentals. |
 |
| Between the 12th Cont. and artillery, the 24th is forced to retreat. |
 |
| The 10th Regiment attacks a unit of Provincials. |
 |
| The Provincials lose half their men, but still stands their ground. |
 |
| At the top of the picture the British infantry closes on a Continental regiment. The Dragoons are quickly advancing. |
 |
| The 10th destroys the Provincial unit. |
 |
| The Continental infantry at the top of the photo closes in for melee with the regulars... |
 |
| ....and pushes them back. Meanwhile, the 10th is fired on. |
 |
| The 10th continues to advance and the Dragoons hits the infantry in the flank. |
 |
| The Dragoons force the infantry to retreat and in the pursue kills one man. Meanwhile the 10th causes 50% casualties to the 8th Massachusetts. |
 |
| The American right charges forward. |
 |
| The regulars suffer more casualties. |
 |
| The Dragoons charge the last Provincial unit. |
 |
| With the C&C Tricorne rules, Provincial units must retreat two squares for every flag. As they couldn't retreat two squares, they lost two men. However, in this situation, should the whole unit have been lost? I had the unit fall back one and the lost two men. In this game I used my AWI militia as Provincials. In C&C Tricorne, Militia units must retreat 3 hexes for every flag. For this test game, I didn't want the Americans to be too weak. |
 |
| However, the subject is moot. The Dragoons on their follow up killed the last infantryman and forced the general to retreat. |
 |
| While the Dragoons were attacking, the 10th and 24th force the American right back. |
 |
| The American right counterattacked. |
 |
| The 8th Massachusetts attacks the 10th and forced them back 2 squares. |
 |
| While the American right was having success, the leftmost infantry was attack by both the Dragoons and regular infantry. |
 |
The combined attack overwhelms the infantry. The 24th eliminates the 12th Continentals. The Americans below 50% and lose the battle.
After this game I want to rebase my Minifigs AWI figures onto square bases, so I can mark the units on the stands. In the past when I have superglued figures to washers, and it was easy enough to separate the washers from the figures. I tried to remove the washers from these figures, without success. |