Showing posts with label Chris Salander. Show all posts

Monday, January 17, 2022

First Wargame of the Year

  Actually, this is not the first wargame, but the first wargame worth reporting on. I fought another one using my chessboard; however, it was the same predictable game. I wanted to do something different that was less predictable.

   My first plan was to play a scenario from Stuart Asquith's Guide to Solo Gaming.  I did end up using Chris Salander's H&M 2.0, except that instead of using the chessboard I would use a measuring stick. Instead of moving based on number of squares, I would roll 4 6D dice to decide how many figures were to move. I also wanted to try the game on a new portable table, which has a small top. 
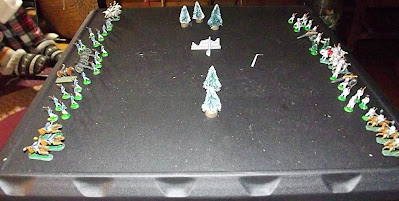
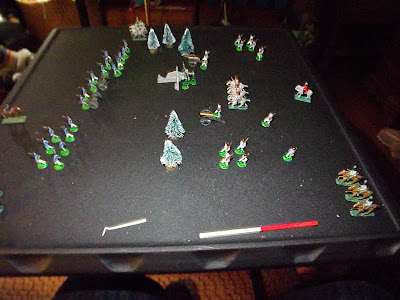
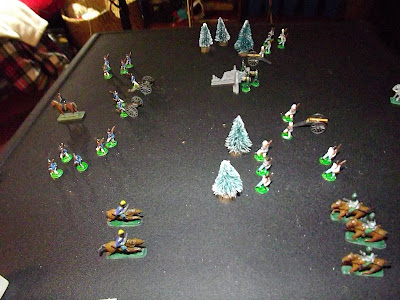
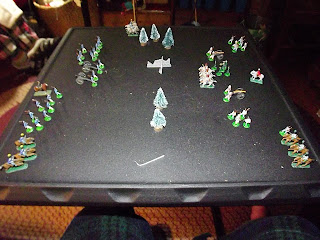
The Blue Army is on the left, the Grey Army on the right.


The grey army reaches the ruins first. The ruins are occupied by a blast from the past, Barnaby of the Rifles. He led forward 4 of his riflemen to accomplish his mission.

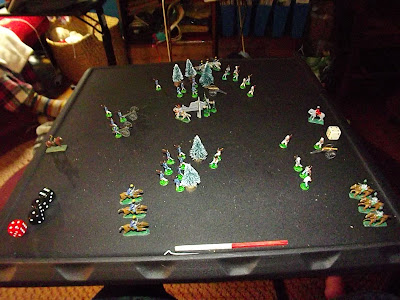
In the upper picture, blue sends his cavalry forward to turn grey's right flank. He falls short of reaching the grey infantry, with disastrous results. In the lower woods, the blue infantry drives back the greys.

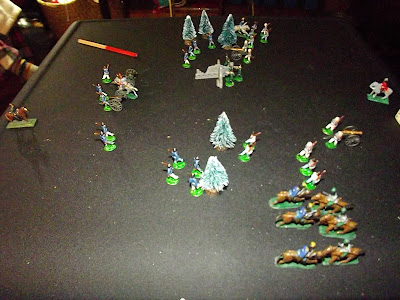
In the upper part of the picture, the greys kill two of the blues cavalry. In the center, the grey cavalry charges the blue artillery, routing one gun crew. In the south woods, the grey infantry counterattack, with support from the cavalry.

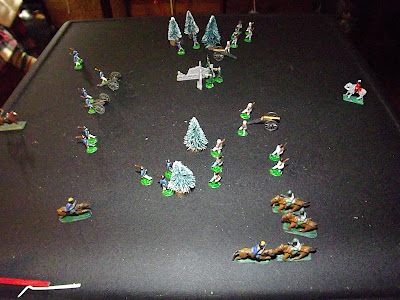
In the north woods, the blue cavalry is eliminated, and the blue infantry in the woods suffers losses from the riflemen and grey artillery. The blue cavalry in the south woods lose their skirmish with the greys, and the grey infantry starts their assault on the woods, pushing some of the blue infantry back. 

At this point the blue general realizes that the battle is lost and orders a retreat.  The blue cavalry acts as rearguard.   It was an enjoyable game that was less predictable than using the chessboard. The figures were picked at random from my Peter Laing figures, with the redoubtable Barnaby being in the mix. 

Monday, November 26, 2018

Toy Soldier Chessboard Wargame

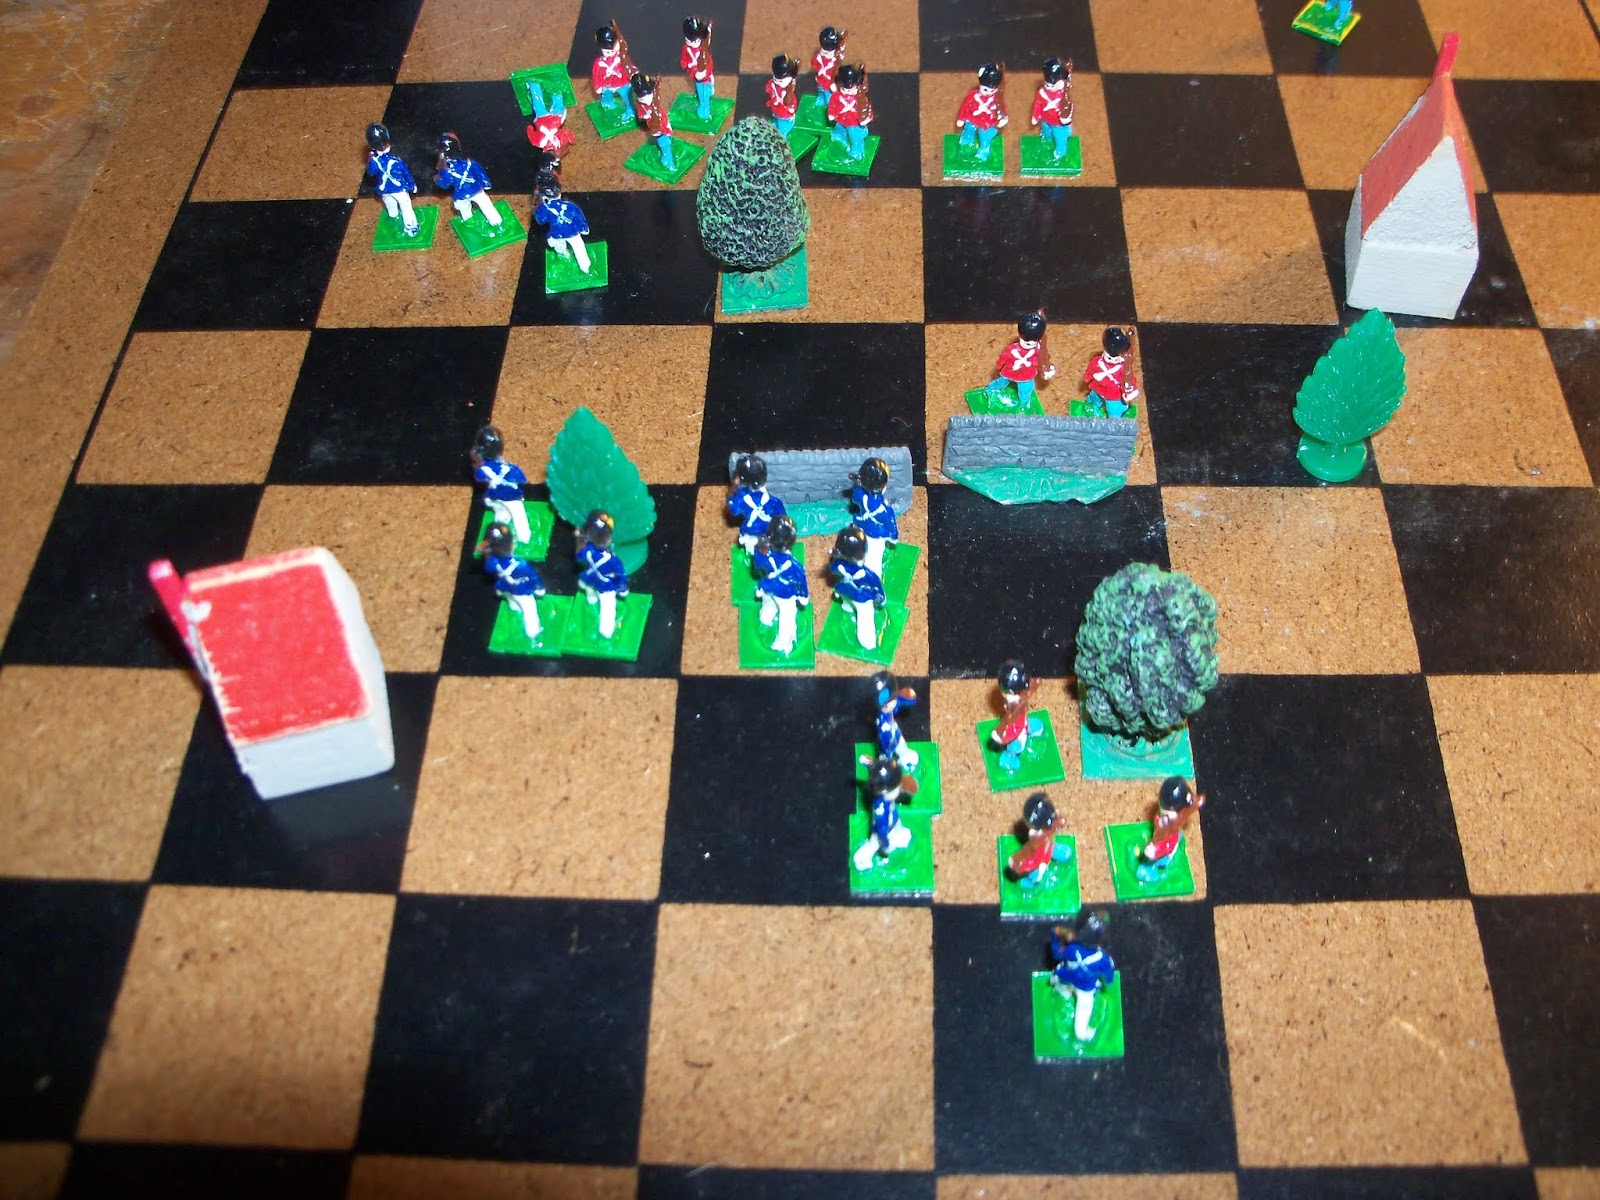
Blue toy soldier army vs. Red toy soldier army. Landscape terrain is the same on each side.  Game using Chris Salander's Horse & Musket 2.0 rules.

Both sides rush forward to seize favorable terrain.


Blue fire drives one red soldier to retreat from the woods.

Red advances against the blue right...

...and kills three soldiers.

Blue return fire kills three red soldiers, as the blue army pushes forward their left flank.  Meanwhile the blue unit advances on the woods in the center.

The leftmost red unit kills two blue infantry, while another blue soldier is killed before the woods.

Blue continues their assault on their left. They kill one red soldier and force two to retreat from the stone wall.

The red commander starts moving some of his troops from the left to bolster his right flank. Meanwhile, blue loses two more men on their right flank.

Blue continues to hit the red right. Red loses two more soldiers behind the stone wall.

Red drives back the defenders of the woods on blue's right flank; the red troops in the woods  forces the blue infantry in it's front to retreat, and blue has one killed in it's left flank.

Blue moves to shore up it's right flank.

Red counterattacks on it's right.

Blue finally takes the woods in the center, kills one infantryman, and drives one off the battlefield. They also win the race for the woods behind their lines.

Red drives the blue infantryman out of the woods on the top left of the picture. The red counterattack on the woods in their center drives one blue soldier back( as there are already 4 infantrymen in that square, the soldier is killed.

The blue left continues their push on the left. Meanwhile, the blue infantry tries to clear the woods in the foreground.

The blue attack on the red right falters; one soldier is killed and the others forced to retreat. Meanwhile, blue loses two more soldiers in the center.

Blue disparately tries to rally in the center.

The red army hits the blue left flank hard, killing two more blue soldiers.

At this point the blue commander orders a retreat. The first side to lose 16 men loses the battle.

As the blue army falls back, the red commander comes forward to lead the pursuit.

Tuesday, April 17, 2018

Patriot's Day Wargame

     Patriot's Day is a Massachusetts state holiday commemorating the battle of Lexington and Concord. Being a town employee, I had the day off. My wife, who is still recuperating from surgery, decided to take a nap, which gave me time for a quick wargame. I decide to use Chris Salander's H&M 2.0. As mentioned in an earlier post, I wanted to try to use mixed units instead of the usual infantry, cavalry and artillery.  I started with the basic rules figure allotment of 16 infantry, 6 cavalry and 4 artillery. The red army would use the conservative infantry, cavalry, and artillery units. The blue army did something different. Their army had mixed units deployed from left to right: 3 infantry; 2 cavalry & 2 infantry; 2 artillery& 2 infantry; 2 cavalry & 2 infantry; 2 artillery & 2 infantry; 2 cavalry & 2 infantry; 3 infantry.  Each army could move 4 squares of figures per turn, although anyone within  range could battle. I wasn't going to do a battle report so I didn't take any pictures until the game was half over.
At the half way point in the game, the Red Army was turning Blue's right flank.

Blue tries to stabilize their right flank.

Blue wipes out the Red cavalry on their left flank and their artillery fire drives back an infantry unit.

Red's right flank has crumbled.  However, their cavalry on the left has eliminated  the Blue cavalry  on the Blue's right flank. Red starts consolidating his right flank units.

Blue cavalry hits the Red's right flank...

...and kills two infantrymen, eliminates one artillery piece, and forces the other gun to retreat.

The Blue army starts moving their infantry on the left to shore up the right.


The Red army manages to get all their troops into combat.

The Red army starts breaking through the Blue's line.

The Red army  has the Blue army on the run.

The blue army's morale breaks and the withdraw off the field. After the fact, based on the holiday, I should have used my 1st generation Minifigs American Revolution figures.

Sunday, March 4, 2018

2mm and Chessboard Battles.

   With my wife out of work again from an injury, and me recovering from a cold, I haven't had much time or entusiasum for gaming. As I started feeling better, I wanted to get a game in, but didn't want to spend a couple of hours in the cold basement after getting over being ill. I brought some of my 2mm figures up to the new den and fought a game. That game ended quicker than expected and I found time for another game. For this I brought up my Peter Laing recasts and used the chessboard and  Chris Salander's H & M 2.0 rules.


2mm game. The Red Army has seized the ridge line and the Blue Army brings up two batteries to shell the ridge.

The Red Army fire drives back both Blue batteries  and the Blue infantry suffers heavy losses. At this point the Red Army launches a general assault along the entire line.

The Red Army splits the Blue Army in half, and wins the battle.

Chessboard battlefield. The game is set up to use H&M 2.0 rules.

The red cavalry pushes through the center of the blue army.

Between the red cavalry and red infantry, one blue unit loses one killed and two retreat.

The cavalry overruns the blue artillery. He now has blue's headquarters within striking distance.

Blue manages to push the cavalry back.


The red cavalry captures blue's headquarters. After checking the rules, only infantry can capture the opponents headquarters. A red infantry unit is 3 moves away from the headquarters.

The blue cavalry drives off the red cavalry.

The blue army launches a counterattack.

The red army is on the run.


The red army's left flank is gone; the red army concedes the battle.
While playing the game, I forgot some of the rules which makes this game interesting. With the original rules, each side can move 4 squares worth of figures. Usually I will roll an average dice to add some degree of  uncertainty to the game. In this game I stuck to the original 4 squares movement. I did roll for initiative for which side moved first. For the first half of the game I played using Command & Colors style rules, where only the 4 squares worth of figures could engage in combat. However, after looking at the rules, I remembered the rule that ANY unit was in range could engage in combat, which during a wargame, does make sense.
After playing this game, it has me rethinking of using these rules more.  In the rules, four figures are allowed in a square; you can mix and match the pieces. Over the years, I usually just make units of infantry, artillery, and cavalry.  This game I moved different infantrymen to join other units. It has me thinking of using combined arms units instead of the same old infantry, artillery, and cavalry units.