Sunday, March 24, 2013

15mm First Generation Napoleonics

While at work recently I  suddenly got the urge to pull out my old 1st generation 15mm Minifigs Napoleonics. They were my first metal toy soldiers.  Over the last couple of years I've bought small lots of more Minifigs and traded for a very large lot of Russian Napoleonics. I also have been thinking of changing up my games. While I still used Bob Corderys rules, I put aside my Heroscape board and went back to using a squared off board. 


French Army approaches from the top of the picture; Russian from the bottom.

Both sides advance.

The French continue to advance,  the Russians take up defensive positions.  French are on left, Russian on right.

The Russian artillery takes out 3/4 of one infantry regiment, the leftmost Russian cavalry hits the right hand French infantry regiment, causing 50% losses and the rest retreat.  On the Russian right 2 cavalry regiments force the French to pull back to defend the flank.

The Russians continue to pressure both flanks.

The French on the right flank breaks the cavalry regiment harassing it, making it fall back to the farm. On the left flank both Russian cavalry start losing men. Napoleon (on white horse)  falls back and forms up the army in a new line.

The right flank Russian cavalry continues to keep up the pressure. Meanwhile, the Russian infantry which has been holding back starts forward. The leftmost Russian infantry regiment breaks the French battery to it's front.


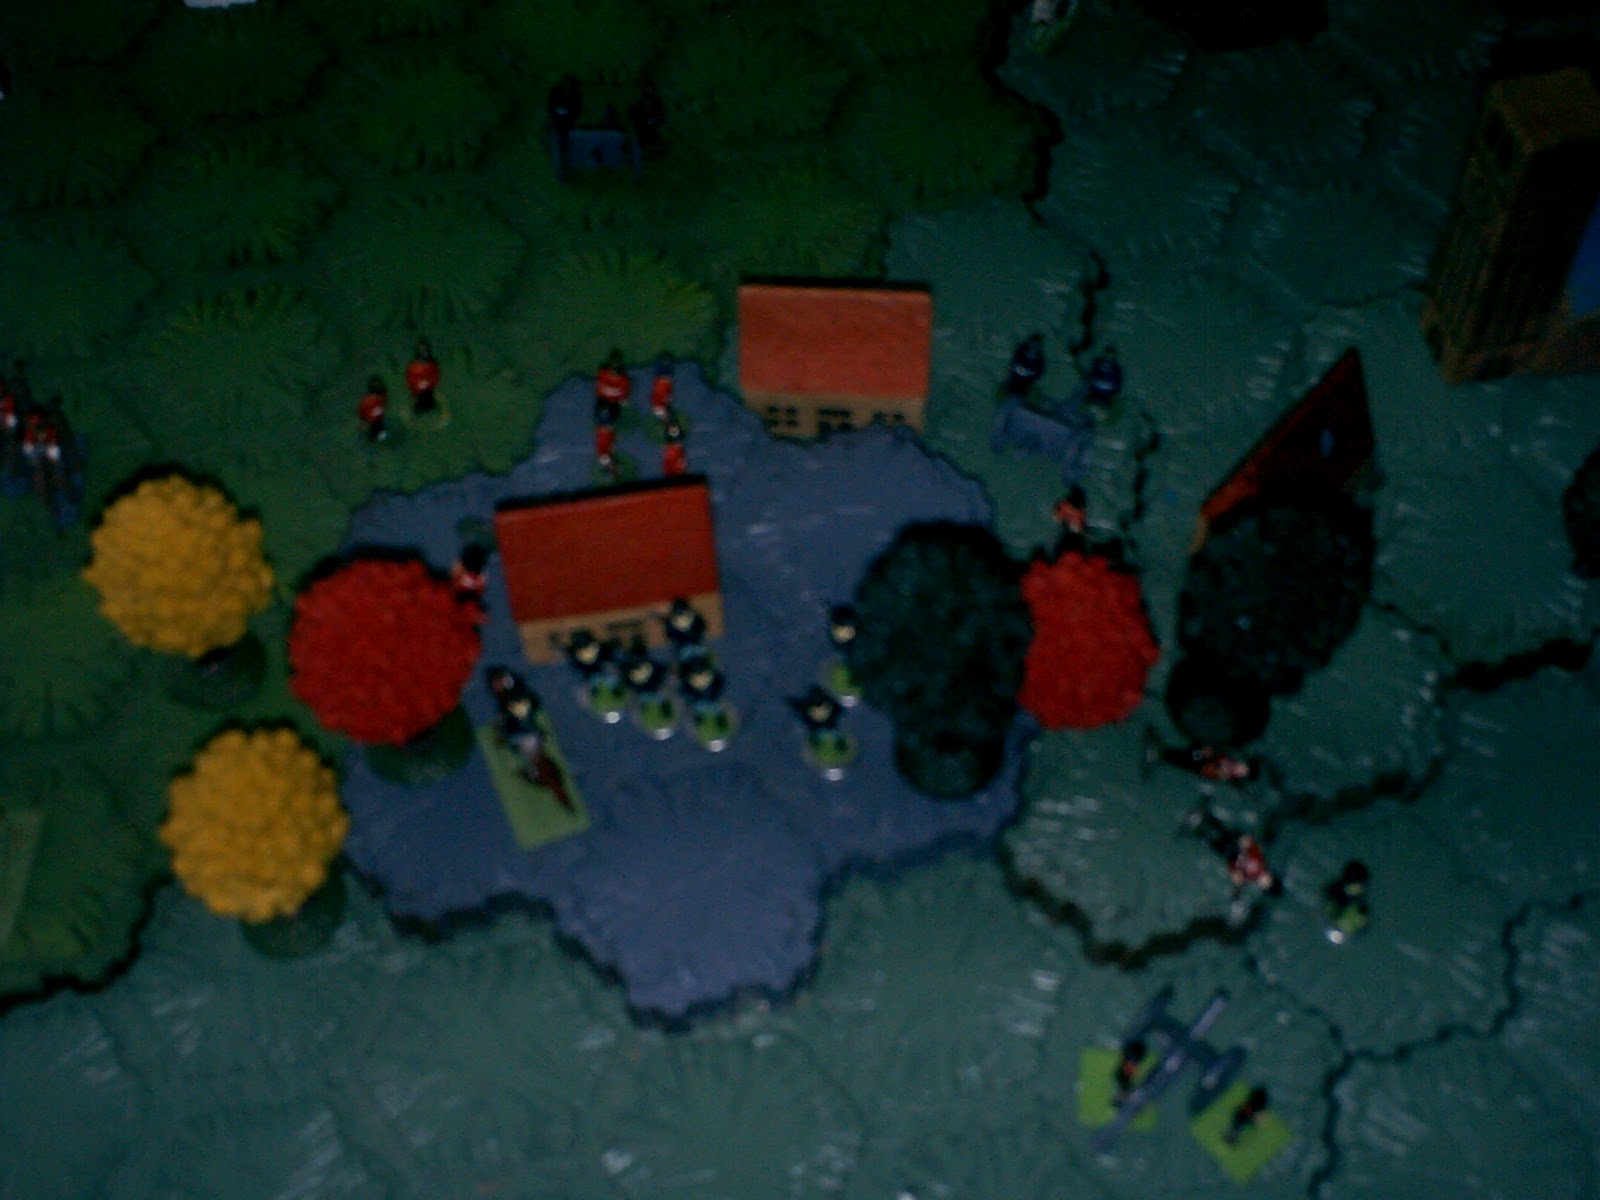
The French now start inflecting causalities to the Russian infantry; however the Russians press on.

The Russian continue to smash the French line. One cavalry regiment breaks the French regiment endangering Napoleon himself! 

Any other general would call it quits; however, seeing the losses the Russians are suffering convinces Napoleon to keep up the fight.

The French push back the Russians. Napoleon is sure the Russians will now break off the attack.

He is wrong; the Russian come on again. The Russians left cavalry breaks the French regiment at it's front. The infantry eliminates the French battery in the center.  The Russian battery brings the French regiment guarding Napoleon under fire.

At this point Napoleon decides that now is the time to call it a day.


This was a fun battle. I didn't use Bob Cordery's rule that when one force suffers so many losses it has to stop advancing.  One rule I've used before is once one side has a 2:1 advantage, the other side has lost the battle.


Friday, March 15, 2013

Blue Army's advance after Brooks Farm

The Blue Army, after their victory at Brooks Farm, continued their advance into Red's territory.  It now turned into a punitive expedition with the goal of extorting payment for the losses suffered. Unfortunately, the wagon train got lost (literally; I misplaced my covered wagon models) and so they would have to settle for what could be carried by mule train.

Higgins Armory Museum Closing

     This week I learned that my favorite museum, the John Woodman Higgins Armory Museum in Worcester, Massachusetts was closing their doors after 82 years. The collection of 2000 pieces of armor, which belonged to a local industrialist John Higgins, first opened in 1931 in a custom built art deco building, which was used to house the collection and offices of his factories.
   As a child my parents made it a point to take us to local attractions. The "Armor Museum" as we would call it, was my favorite.  I still remember fondly the anticipation of the first glimpse of the Armory, which has a large suit of armor on the roof.

My brother Mike's favorite piece in the museum.


One of my favorites, a knight preying in a castle chapel.

Probably the most famous and popular suit in the collection.  Just about any article  I've seen shows this suit.

Molly dreaming: "If I could only get that suit I could rule the neighborhood!"
   The good news is that the collection is going to stay in Worcester, where it will be housed sat the Worcester Art Museum. I only hope the the building itself will last.

Sunday, March 10, 2013

Steam Tractor with Peter Laing figure for scale

Steam tractor and car with Peter Laing 15mm Victorian parade  infantryman for scale. The car is marked "HQ", so  he must be guarding the general's office.

I don't know the make of these trucks, the driver is not Peter Laing.

Here is the steam tractor I bought recently with a Peter Laing 15mm figure next to it for scale. I think Ian Dury (a fellow Peter Laing lover and helpful guide to me) was right suggesting that it might be a model railroad piece. There are also a couple of trucks that I got in the same lot. They just seem to have a lot of promise for war-game scenarios.

Sunday, February 17, 2013

Battle of Brooks Farm 15mm Peter Laing battle

This is another of the wargames I played during the blizzard. It is based on H.G. Welles "Battle of Hook Farm".  I used Peter Laing British Victorian parade figures (most of them home casts) and Crimean War figures for one side; Peter Laing ACW and Indian wars figures for the other side.


On the left is the Red forces: from bottom up;cavalry troop, cavalry trp, infantry co., artillery battery, infantry co. artillery battery, Guards co., Guards co.
Blue forces are on the right: from bottom up: Inf. co.,Cavalry trp., artillery battery, inf.co., inf. co., cavalry trp., battery, inf. co.


Red forces move first. Notice Guards co. swinging wide around church of left.

Blue's first turn:right cavalry unit cuts across infantry co. front. Both cavalry troops making for Brooks farm (in center  of picture).


2nd move: Blue moves first. Their cavalry grabs the ridge line  while the rest of the units continue forward.


Red's turn: between the cavalry charge and artillery fire, Red  throws both Blue cavalry units back with heavy losses.  Notice one blue cavalry unit has fallen back and is to the right of the yellow trees. 

Blue's turn.The blue cavalry unit at left of picture hits Reds right flank cavalry troop forcing it back with losses. One infantry co. gets to the ridge line, the rest of the army comes forward. 

Red's turn.  Reds rightmost cavalry unit attacks blues left cavalry,  forcing it back with losses. For the rest of the battle these two units fight each other and they no longer play any important part in the main battle. The other red cavalry unit attacks the ridge line and throws back one infantry co.  Notice on the right the two Guards cos. have joined together on Blues right flank.

Red gets first turn.  The Red infantry starts establishing a line around Brooks farm. Meanwhile the Guards hits the leftmost blue infantry co. which loses 3/4 it's numbers and is routed. 

Blue's turn. Around Brooks farm, blue's infantry forces back some of red's infantry. Meanwhile, the blue infantry co.that had lost most of their men now takes up position to the right the gun facing the advancing Guards.  And now disaster strikes the Red's Guards. The right hand blue gun inflects 3/4 losses on the Guards co. at it's front.


Blue's turn.  Blue tries to consolidate it's hold on Brooks Farm.

Red's turn. With darkness closing in, Red continues to try to carry Brooks farm and Blue's losses continue to mount.

Blue's turn.  The blue gun  causes 50% loss to the Guards co.  and the Guards retreats behind the ridge to get itself out of the line of site of the gun.

Red's turn. The Guards now come up on the ridge line and joins the attack on  the farm.  It looks like Red just might win the battle.

Blue's turn. However, Blue's counterattack throws all of Reds' troops off the ridge and they bring up their  gun onto the ridge and now has a strong line on the ridge.

Red's turn. The Red army general now decides to pull his army back; the Blue army has too strong a position.


This battle proved to be great fun. I had to wrap this battle up as it was getting dark out and the power was still out at my house.  The turns might have seemed to be out of order, however  each turn I rolled for initiative for the sides.

Thursday, February 14, 2013

15mm Peter Laing Victorian Parade Figures

What really started me looking for Peter Laing figures is when I found out about the Victorian Parade figures.  I thought that this line would be good for fighting  "Little Wars" in 15mm.  I recently got some WW1 lots on Ebay. There were quite a few Peter Laing figures, along with other makes. Among the figures, here are some pleasant surprises.

What I believe to be Peter Laing Victorian Parade figures. Guards mounted officer  on the left,  Highlander mounted officer on right.
Same figures; other side.

Peter Laing Russian Crimean War drummer (painted as German WW1 drummer) , and Franco-Prussian War German officer.

Same figures, other side.

I don't know the manufacturer, however a piece with plenty of wargaming potential!

I believe this is a Peter Laing Rolls Royce armored car.


Tuesday, February 12, 2013

Peter Laing 15mm Northwest Frontier Battle

My first blizzard wargame was a replay of a Northwest Frontier battle I fought a couple of months ago. In that battle the British were trying to force a pass held by mountain tribes. The British force failed in their attempt. And so the British organized another expedition to take the pass.
The British forces are on bottom of page from left: infantry, artillery,3 infantry units, artillery, infantry, and cavalry.
Mountain tribes on top. From  left: cavalry artillery, 4 infantry units, artillery, cavalry.

Both sides advance; British cavalry starts moving behind the line towards the center.

Both sides close for battle.

The British center and right flank press forward, the left flank holds back because of the threat of  the mounted tribesmen.

The British open fire, without effect.


The tribesmen now starts their attack. The mounted tribesmen hit the left flank  and pushes back the  native scout company.  The tribes artillery does damage and forces back the next company. Farther along the line another company retreats and the British Dragoons now forms the front line.

The native scouts manages to take out 2/3 of the mounted tribesmen and make s the rest retreat. The British center and right attack along the line, causing some losses and made some of the tribesmen retreat.

The tribes counter attack. They hit hard and break both the Dragoons  and the company next to it. What's worse, the rightmost company is completely overrun.


(2 shots of the same turn) At this point most of the British companies were down to half strength  and both flanks are open.  The Dragoons form a rearguard, while the rest of the British fall back. The natives continue to hold the pass.