Monday, November 26, 2018

Toy Soldier Chessboard Wargame

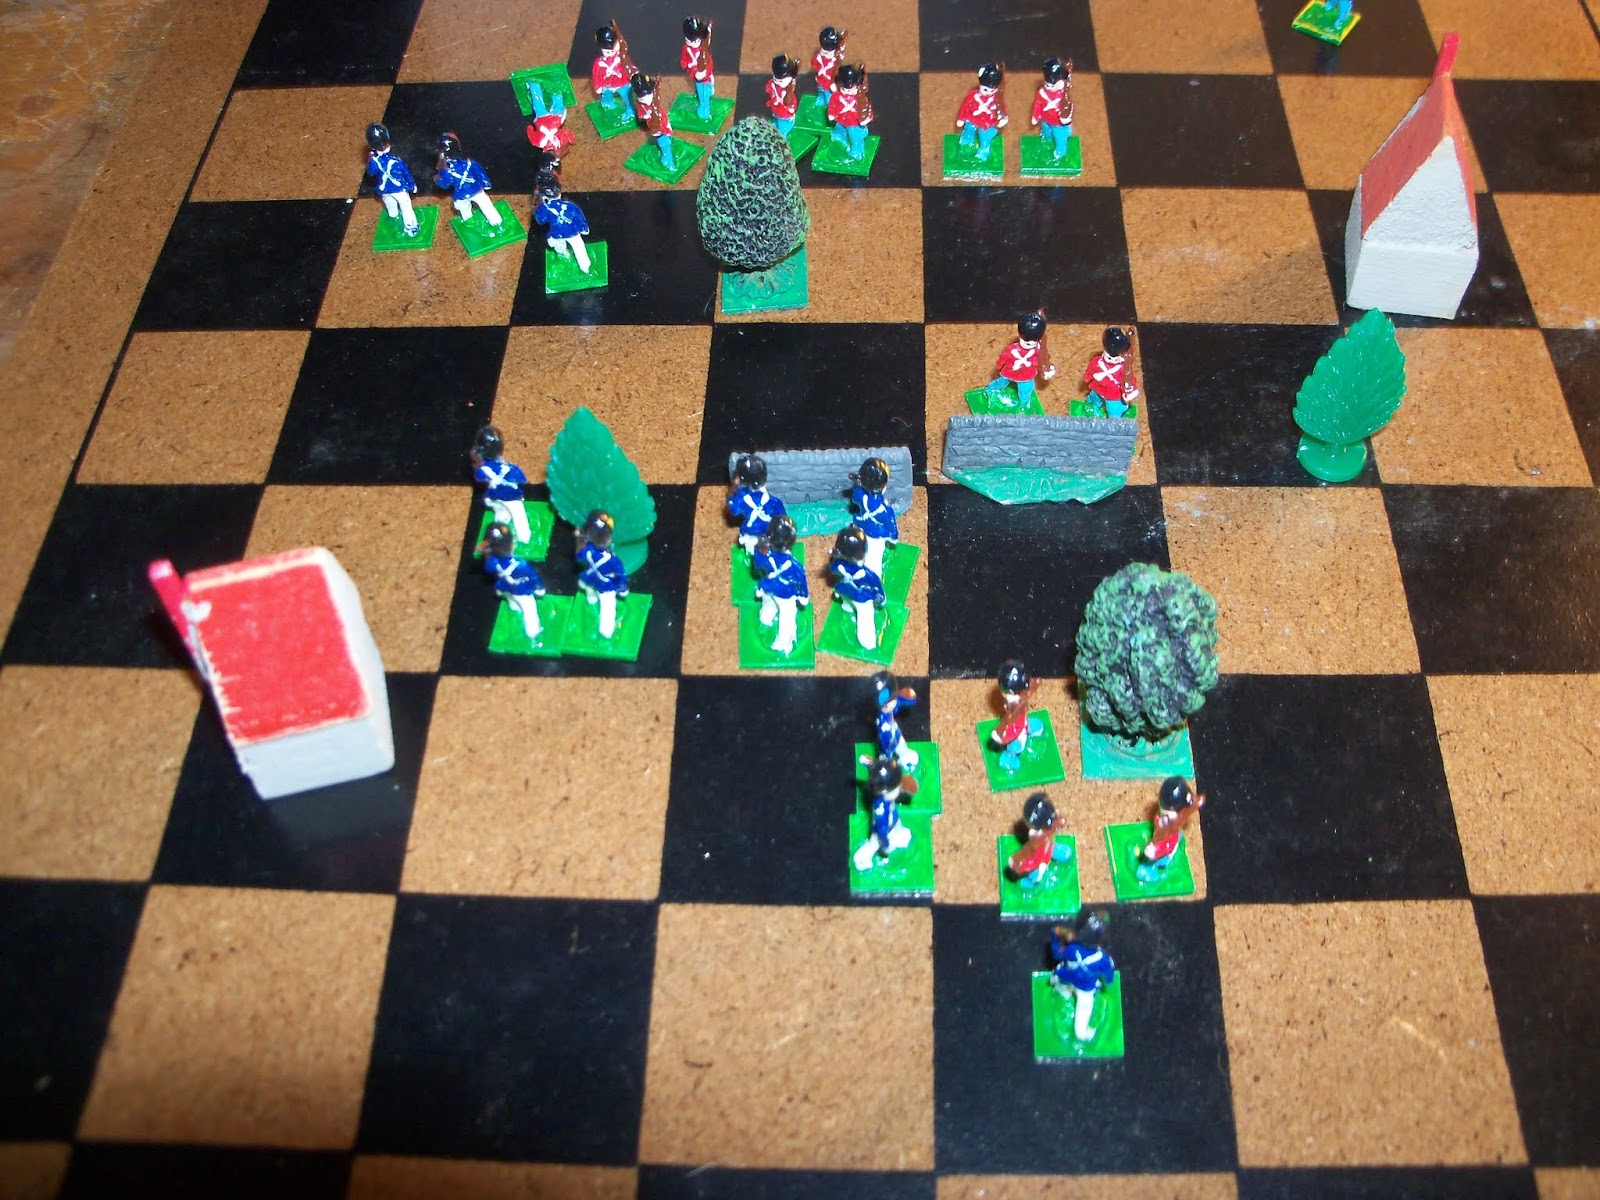
Blue toy soldier army vs. Red toy soldier army. Landscape terrain is the same on each side.  Game using Chris Salander's Horse & Musket 2.0 rules.

Both sides rush forward to seize favorable terrain.


Blue fire drives one red soldier to retreat from the woods.

Red advances against the blue right...

...and kills three soldiers.

Blue return fire kills three red soldiers, as the blue army pushes forward their left flank.  Meanwhile the blue unit advances on the woods in the center.

The leftmost red unit kills two blue infantry, while another blue soldier is killed before the woods.

Blue continues their assault on their left. They kill one red soldier and force two to retreat from the stone wall.

The red commander starts moving some of his troops from the left to bolster his right flank. Meanwhile, blue loses two more men on their right flank.

Blue continues to hit the red right. Red loses two more soldiers behind the stone wall.

Red drives back the defenders of the woods on blue's right flank; the red troops in the woods  forces the blue infantry in it's front to retreat, and blue has one killed in it's left flank.

Blue moves to shore up it's right flank.

Red counterattacks on it's right.

Blue finally takes the woods in the center, kills one infantryman, and drives one off the battlefield. They also win the race for the woods behind their lines.

Red drives the blue infantryman out of the woods on the top left of the picture. The red counterattack on the woods in their center drives one blue soldier back( as there are already 4 infantrymen in that square, the soldier is killed.

The blue left continues their push on the left. Meanwhile, the blue infantry tries to clear the woods in the foreground.

The blue attack on the red right falters; one soldier is killed and the others forced to retreat. Meanwhile, blue loses two more soldiers in the center.

Blue disparately tries to rally in the center.

The red army hits the blue left flank hard, killing two more blue soldiers.

At this point the blue commander orders a retreat. The first side to lose 16 men loses the battle.

As the blue army falls back, the red commander comes forward to lead the pursuit.

Friday, November 23, 2018

20mm Sculpture

First attempt at a 20mm sculpture. It was made in under an hour. The original plan was just to cover the entire armature in putty. At first I was going to try to make the skirt look like a fur; however it started looking like an ancient wrap . 

I took the measurements off this Airfix figure.  The figure is more "animated" than I had planned. After an hour, I liked the look of the figure and decided to stop at this point.

At first I wanted a stone age figure. In this position I could see the figure throwing rocks, or fighting with spears.

Originally I was going to just put a nose for the face and a couple of indents for eyes. While playing with the face, it came out looking something like a barn owl face; I liked the look of it so left it as is. I could  also see it as a Greek style helmet.

If used as a master, it would be easy enough to add shields, armor and swords or other weapons to create new figures. 

I want to create generic figures for "No Brain Wargames".

 An Airfix Indian used for NBW, compared to my figure. I can now see why metal figures tend to be stockier than plastics; the legs can't be too thin as they will be too fragile.

My work tray. I try to assemble a new armature while working on a figure, so as to not slow down sculpting. I have spent over $30 on different tools. However, the tool I have used most are regular toothpicks, which cost $3.50 for 400 of them!

Sunday, November 18, 2018

Original 40mm Sculpture

I wanted to do a practice figure to try to match my Britains 40mm figures. The 40mm Britains don't have combat poses, so I wanted to try to create my own.

Originally I had planned to cut a head off one of the Britains which was wearing a home service helmet. At this point in making the figure, I decided I wanted to make a completely original figure of my own, so a head was added.

Sideview of the figure. The exceptionally long right arm was so I could use it to create the rifle. The head has a skull shape. That wasn't a bit of clever planning on my part; I didn't even notice it until looking at the photograph!

Right arm added. with the rifle and left hand positioned.

I was going to make the figure with an ACW kepi; however I went with a shako. I am thinking of using this figure for a  master.  The shako is larger than used at the beginning of the war. I figure I could file down the shako into different styles of hats, including kepis. As can be seen in this shot, I need to master the green stuff  and learn how to smooth it better.

The figure with ammo box, haversack, canteen and belts added.

Back of the completed figure. The cross belt looks more like a blanket roll!
The completed figure next to one of the Britains 40mm. He needs only to be based.

Saturday, November 10, 2018

Completed Green Stuff Figure


I finally finished my first sculpture using professional techniques found on Youtube (although without the same results of being miniature works of art) .  I am happy with the figure and hopefully will reach a point when I can sculpt and cast my own figures.

  As for my swordsman, with his quick paint job he is now ready to be retired to a shelf with other toy soldiers.
The completed figure.


Tuesday, November 6, 2018

Finishing My New Sculpture.

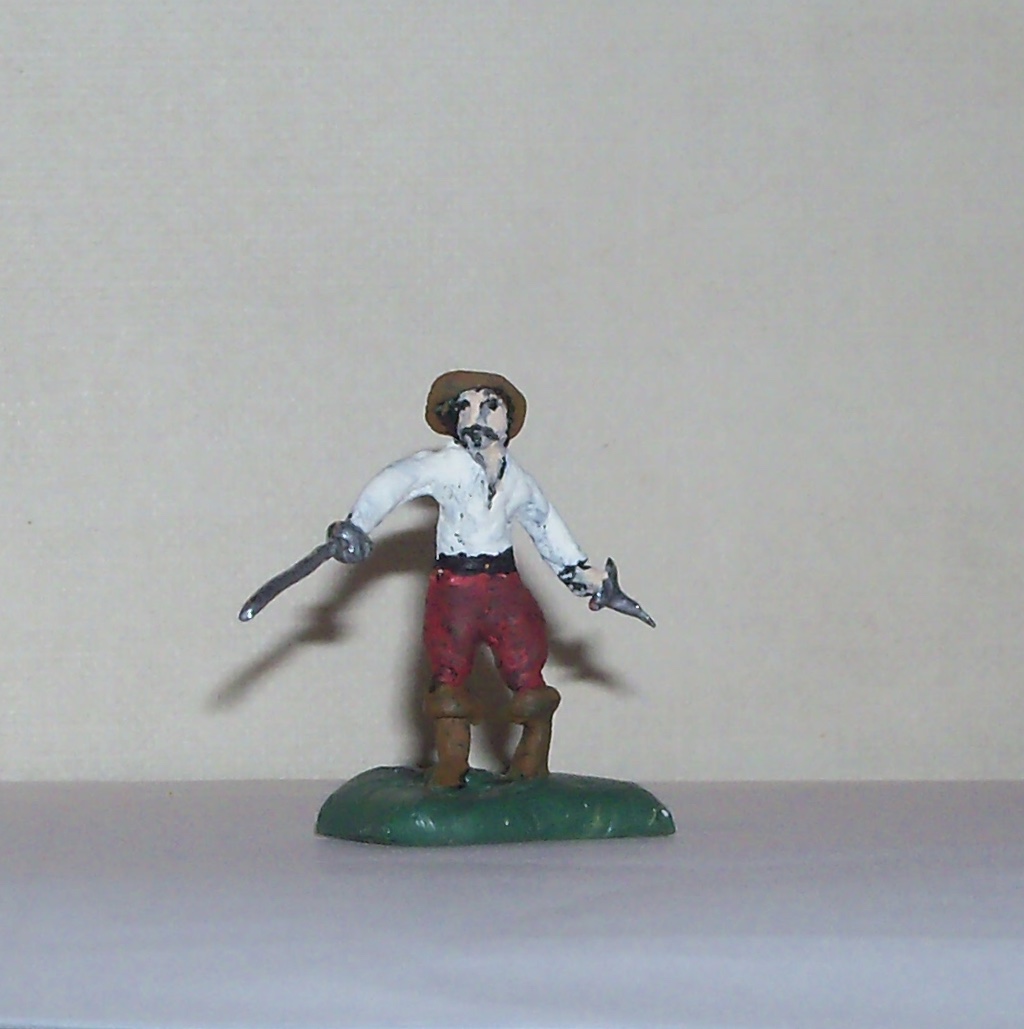
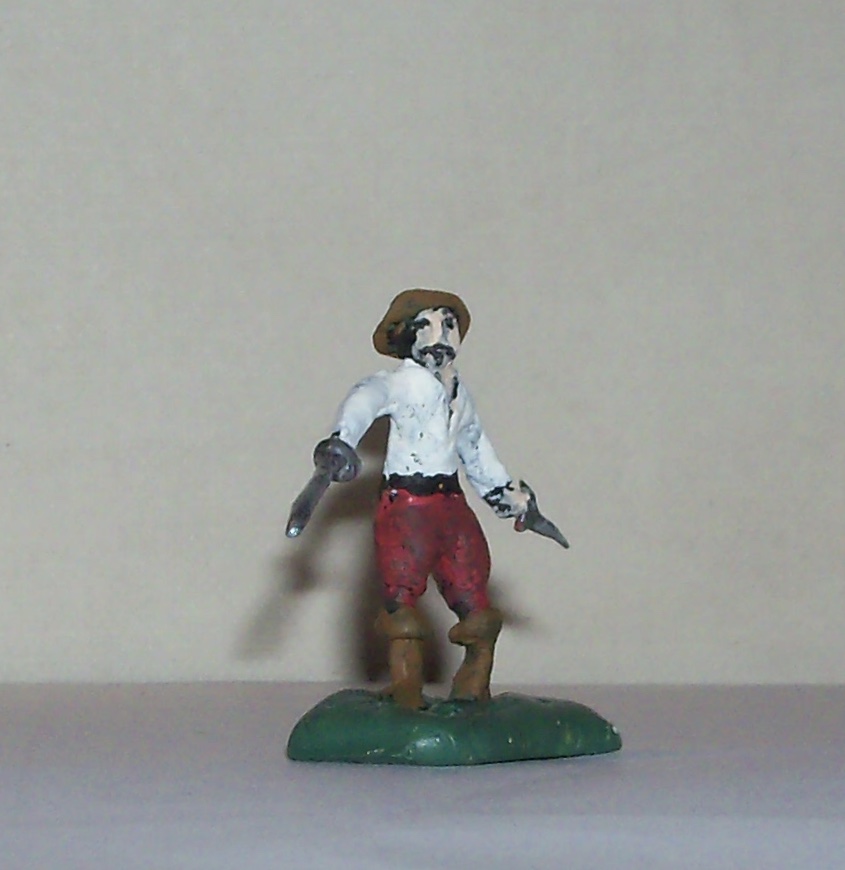
     While looking at the sculpture I did using "green stuff", the figure's stance struck me as a swordsman's pose.  Since the figure was only a practice piece, I decided to finish the figure. I wasn't sure if it should be a historical figure, or more of a "Hollywood" swashbuckling figure. In the end it's more Hollywood than historical. Still, I am quite happy with the result, for a first try.

    As I based the new figure, I had a large amount of green stuff  mixed, which I didn't want to go to waste. Yesterday I had made an armature, which I tried to make at 30mm. My plan is to cast an armature which can be used as a base figure, which can be posed and dressed to be used as masters. I put a thin coat of green stuff on the figure to bulk it out. It's not pretty, but hopefully it'll do the job.
The original pose.


The completed "Swashbuckler"


The swordsman on his new base. The alien looking fellow on the right is my armature.I made the head pointy, as that's where I plan to put the pouring spout. Also, as I might be putting shakos or other large hats on the figures, this would make a good base.

Sunday, November 4, 2018

SAE Figure Conversion

   One reason I want to work on sculpting is so I can produce 19th century American militia units. While looking at Battle Game of the Month blog for inspiration, I was trying to decide what scale of figures to use for this project. As I have a sizable collection of SAE 30mm ACW, 30mm would be my next project. While looking at some Kinney Militia cigarette cards, I got the idea of converting some of the figures using "green stuff" instead of trying to create my own. 

    For the first attempt I decided to use a recast SAE British Guards figure. I trimmed down the front of the coat, added "swallowtails" to the back of the coat, converted the boots to trousers, and added epaulettes to the shoulders. I did this hurriedly before leaving for a couple of days. When I got back in town, I threw a quick coat of paint on the figure to see the results.  I am happy with the result; although hopefully with more practice my work will improve. I also have to  make the time to do such work.


SAE figure with trousers, swallowtails, and epaulettes added.

Front view with coat front trimmed off.


Figure with a quick paint job to see the results.  
I'm happy with the result, considering it's my first attempt at conversion using "green stuff".
My next goal is to find my collection of Kinney militia cards, which I have managed to misplace (hopefully I didn't accidentally throw them out!)

Tuesday, October 30, 2018

New Sculpture

      I have not posted recently, simply because I have done little in the field of wargaming. I did find on a paid site a book; "Battles of the Dark Ages" by Peter Marren. I was reading it at work on my cell phone, however it proved difficult to read such small print. I did find a inexpensive copy of the book and ordered it. I received it today, and look forward to reading it. What I did read inspired me to play a couple of wargames singly Peter Laing Vikings and Normans.

    My last post was on carving a wood figure. I had planned to do more wood carving while camping. Unfortunately, when we arrived at the campsite and sit up our camper, I was having bad pain in my right hand.  By the next day my thumb was badly swollen and I ended up in the emergency room. Needless to say, I was unable to do any carving. I did, however, watch several videos on Youtube by Tom Mason on sculpting figures. I decided to try my hand using his techniques. Below are some shots of my first attempt. I had no design for the figure and not sure exactly what I plan to do with it.
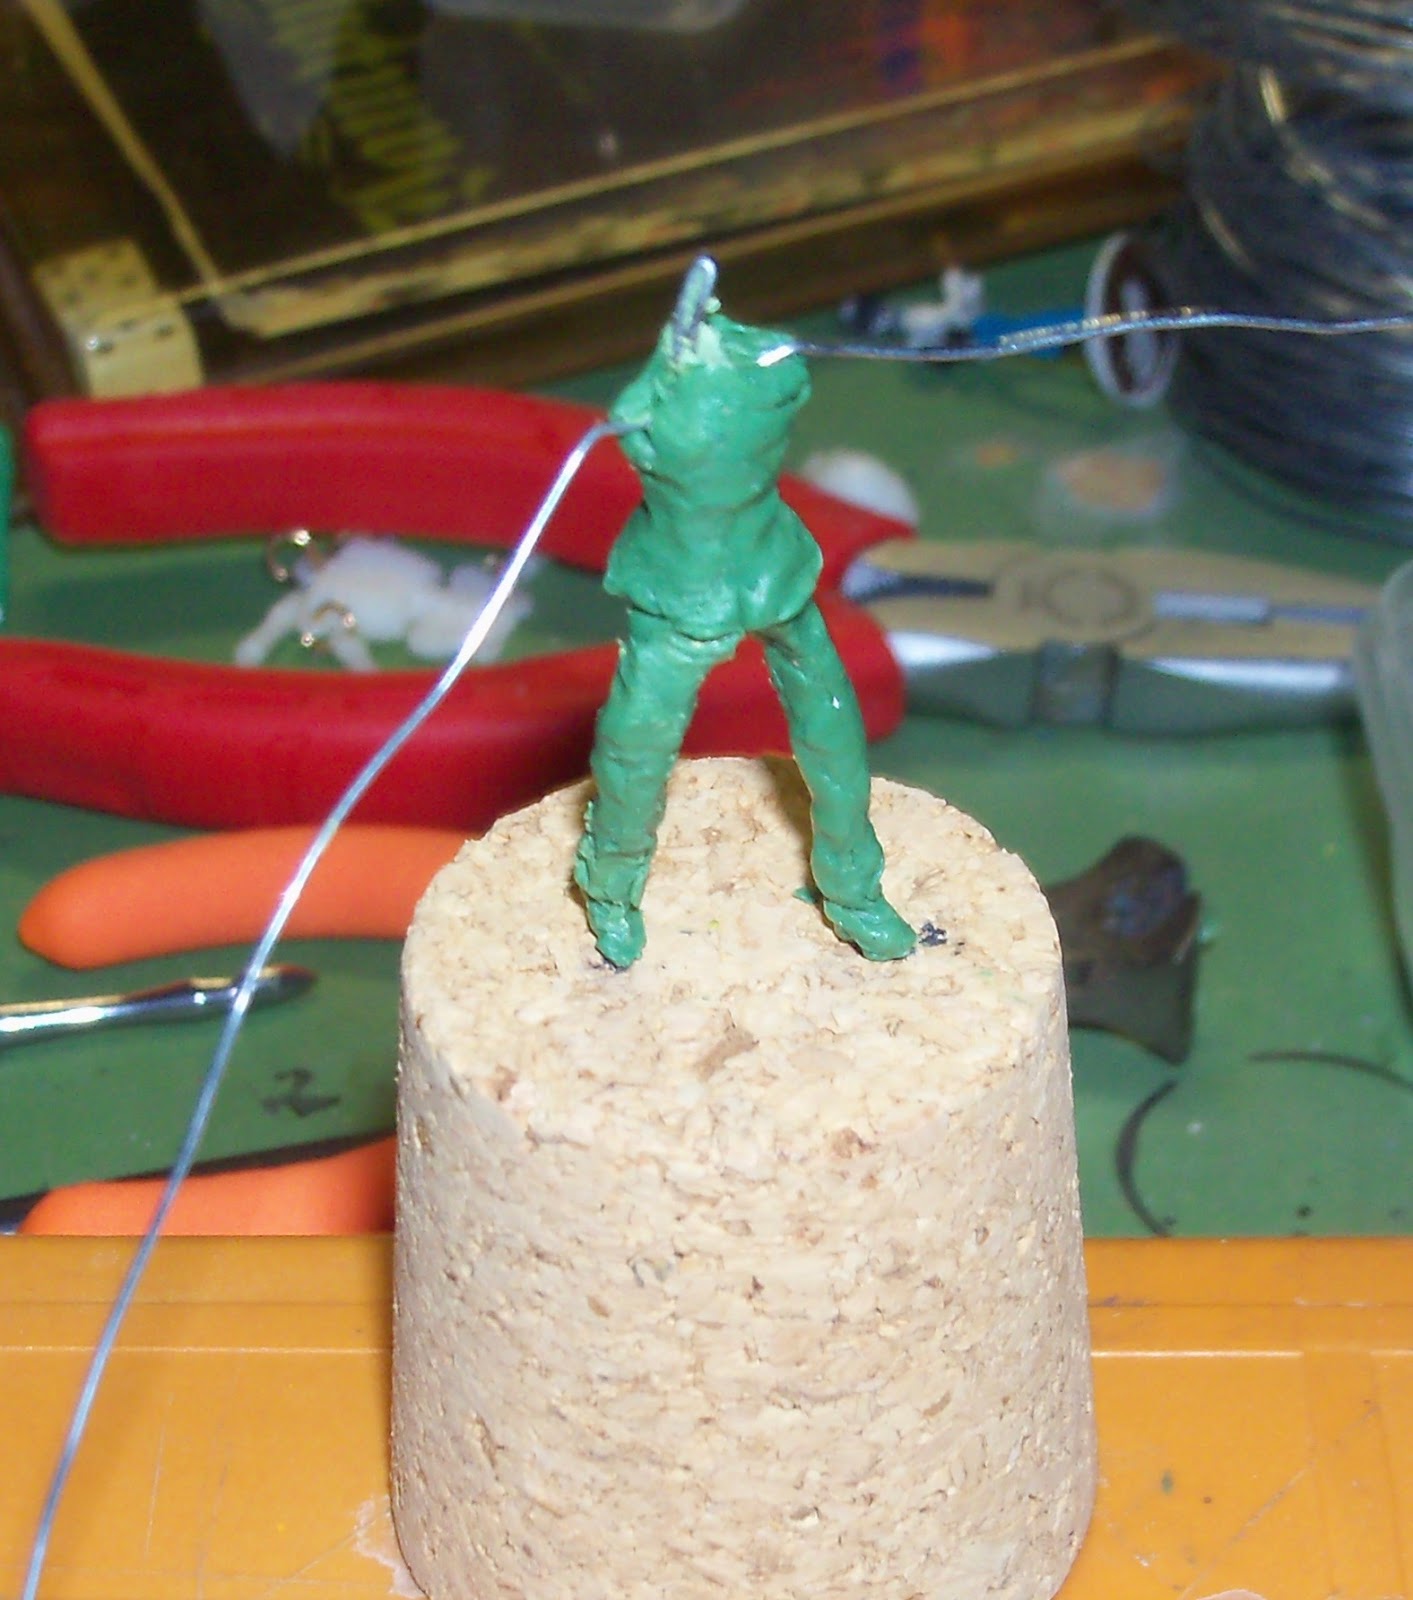
The figure with the first layer of "green stuff". Already I've noticed the need to get the wire armature correct.  As can be seen the left knee is lower than it should be.

The back of the figure. The left shoulder is lower than it should be.

The figure next to a 30mm figure.