Wednesday, October 9, 2013

Battlelore with Peter Laing Figures and Heroscape Terrain

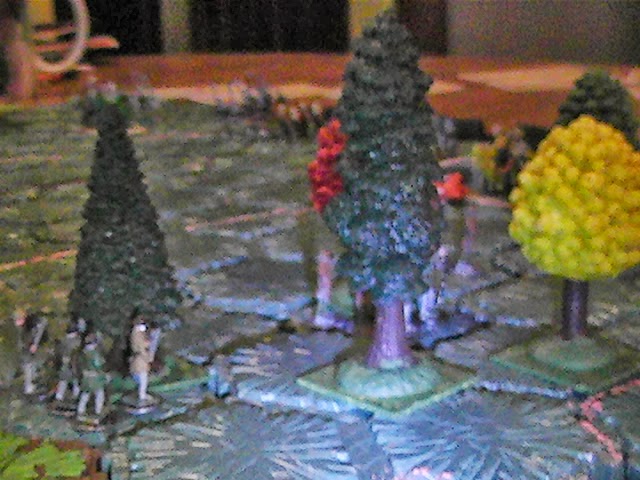
         One reason I brought out my copy of Battlelore was to see if it would be good for using with my Peter Laing figures. After playing the Battle of Agincourt, the Peter Laings came out and I found that I had enough figures for refighting Agincourt. I also figured to try using Heroscape terrain pieces instead of the Battlelore board. I  wanted to use some toy trees that I found in the local hobby store. They didn't stand too well, but by mounting them on plastic squares the problem was solved.
        So using all of the above, I set up the game as outlined in the scenario book. At first I wasn't going to use the movement cards and was going to dice for movement, but as I had already played the game once with the cards and figured it would give a better idea how the game played out.
The Battle of Agincourt. The English Army is on top of the board, French on the bottom. Unfortunately I actually set up the armies on the wrong sides of the board! 

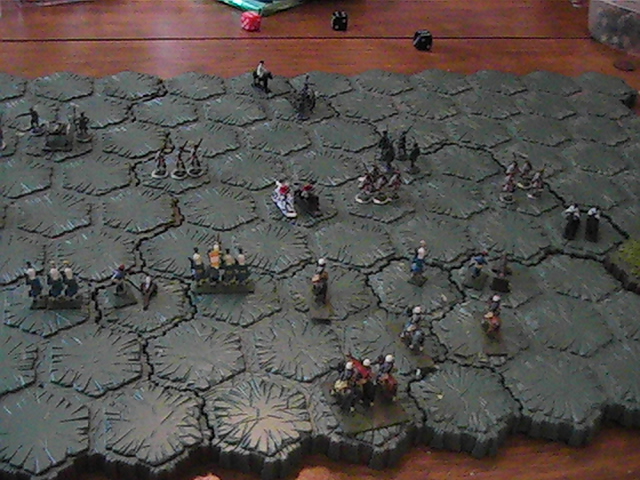
Looking down the battlefield before the battle. English on left, French on right.

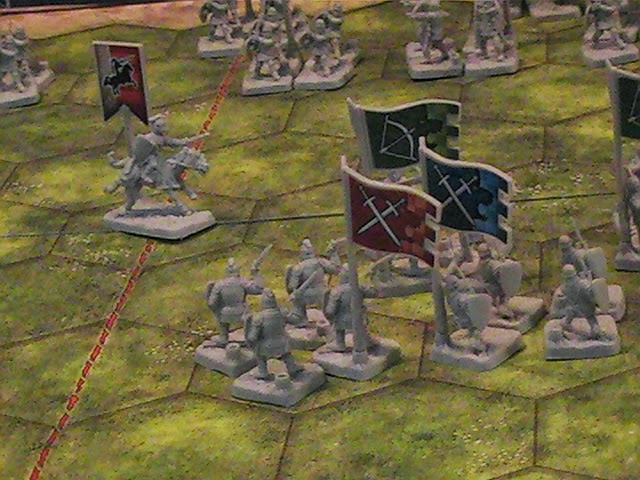
Looking towards the French from behind the English center.

The English start the battle by sending their left flank into the woods and the archers manage to kill one knight and force the others to retreat.

However, the French knights catch one archer unit in the open and manage to kill two archers and makes the rest retreat.

Mounted units can "pursue" a retreating unit and battle again. Disaster strikes and the knights wipe out the archer unit.

The French then draws a card that allows them to advance their center.

The English then draws a card (Shown facing the camera) which allows all their archers to battle twice. The English hopes of a devastating volley is not met; they only manage to kill one knight, one medium cavalryman and one men-at-arms.

The medium French cavalry hits one of the English men-at-arms unit, killing half the unit. However the English hold fast.

 The next turn the French hits  the man-at-arms unit and completes it's destruction!

It then advances and attacks the archer unit, killing two of the archers and making the others retreat.

The English turn produces no change in their situation. Now the French attack. The French archers (on the right of the picture) forces the English archers back. The French men-at-arms  (on the right of the picture) are about to attack the archers in front of them. The archers are wiped out in the attack

The next turn the French archers hit the last of the English archers. At this point the English have lost 4 units and have lost the game. However, the French still have a unit to move and the cavalry presses home their attack on the English foot knights.

They force the knights off the field, giving the French a fifth unit destroyed.

The day is lost. a unit of English archers and men-at-arms stay hidden in the woods.

Once again it was an enjoyable game.  Part of me doesn't like the cards dictating what moves you can make. However  at the same time I think that it might simulate the problems that a general has commanding different officers under his command and the fog of war.

This game also makes me regret the fact that several months ago someone was selling a Peter Laing Medieval army on Ebay (and was in the United States) and I didn't bid on it. It went unsold and was taken off. That lot would have provided me with more than enough figures for two armies, and then some.  


Friday, October 4, 2013

Battlelore Battle of Agincourt

         I finally got a game in using Battlelore. Originally my plan was to use Peter Laing figures for the game, but decided to use the figures that came with the game. One reason I bought the game was the playing pieces. After reading the rules, it is suggested that you start by playing the Agincourt scenario. It seemed like a good place to start.

         I really don't know much about Agincourt except that it was a battle between England and France during the Hundred Years War, a battle the English won. I was going to research it, but for once I resisted the temptation and figured that  I would play the game out instead of trying to recreate it.
The English are on the left, they have banners. The French have pennants.  The different colors represent the unit strength; green for light troops, blue for regular troops, and red for heavy troops.

A view from behind the French line looking towards the English.


A closeup of the French knights charging forward.

The French mounted knights hit both English flanks. If cavalry can make an enemy unit retreat, they can "pursue" and battle again. The French push back one unit of archers. They pursue and hit the next archer unit.

The English right flank is being forced back.

The French knight unit hitting the English left flank crushed one regular infantry unit (not shown) and turns on another regular infantry unit.

The French knights on the English right forces back both archer units to the edge of the field.

The French on the English right destroys another regular unit. The English in turn manages to eliminate the French knight unit.

In Battlelore victory goes who collects a certain number of the enemy standards. At this point the English are down, two to one.  For this scenario the first side to capture four standards wins the game. Now the French knights hope to win the battle. All they need to do is force both units to at least retreat over the edge of the board. At this point it hadn't been much of a battle. As with the Battle Master game played last week, the knights were just riding down the enemy.

However, the French charge didn't break through the archers.  At this point I realized that I missed an important rule.  If any figure takes cover in woods, both attacker and defender are limited to rolling a maximum of two dice. Now the regular rules are green units roll 2 dice, blue units 3 dice, and red units 4 dice. By the English archers moving into the woods, the French knights have lost their most valuable asset. And now the archers manage to kill one knight and made them retreat.

What I thought was going to be a rather dull game got very lively. And now the French had to bring forward their infantry. There have been several turns at this point where both sides have failed to gain any advantage.

Looking down the line, one can see where the different forces are by the banners and pennants. Notice the two closest units. One French regular infantry has managed to get between an English archer unit and the back line.

The battle was decided in the center. The English had one heavy infantry unit, which was causing havoc amongst the French. However, the French finally manage to surround it and wipe it out. (The soldier lowering the standard is for dramatic effect.)

Another view of the battlefield at the end of the game. The French won,  capturing 4 banners to the English capturing 1.

This game turned out to be more fun than expected. I believe  I might have made a few mistakes with the rules, but maybe a couple of games should help.  I also think that these rule could be used with Peter Laing figures and Heroscape hexes for a more 3D battlefield. I also found a website with  a great many historical and fantasy scenarios that could keep one occupied for a long time.

Sunday, September 29, 2013

Battle Masters Wargame with Peter Laing Figures

        I've been wanting to use my Peter Laing Medievals. Looking at different rule sets I found myself checking out Battle Masters, a board game that used miniatures and was card driven. It is a game of fantasy figures, the Army of Chaos full of Orcs and Goblins, vs the Imperial Army, with knights and a mighty cannon. Buying a used game can cost quite a bit. When I first learned of this game I did buy a set of the movement cards and downloaded the rules from the internet. I even was considering buying a copy of Battle Masters recently; the fact the "board" is actually a 4 foot by 5 foot mat changed my mind. The thought of crawling on the floor trying to keep Molly, my dog, from rampaging across the field, got that out of my mind.

     I finally just decided to use my Peter Laings. A quick green paint job on some of the Assyrians formed my Chaos army; Peter Laing Medievals formed the Imperial Army.

     The battle was joined yesterday.  I really don't see me playing too many games with these rules. But to be fair, my downfall is that I suck at shuffling cards! Any doubt on this fact was dispelled with this game. After "shuffling" the deck, the game commenced. The Chaos Army quickly crossed the battlefield with the Imperial Army barely moving.  At first the army of Chaos was living up to their name, thanks to the continual drawing of cards.  Eventually I got down to the clumps of Imperial Army cards, which let loose the Imperial knights. The knights quickly wiped out the Army of Chaos. I read several reviews that stated that the battles tend to go to the Imperial Amy.  After playing this game, I can see why. Four units of powerful cavalry verses one powerful unit and two light units.

The Army of Chaos, on top of the board, can be seen storming across the field. The Imperial Army stands and waits.

Between the Imperial archers (bottom left of picture) and Men at Arms, one Goblin wolf rider  unit is wiped out.

Unit of Men at Arms devastates a goblin infantry unit.

When an ogre card is drawn,  a special deck is used. It has 3 ogre move cards, 3 ogre attack cards. The ogre can flip all 6 cards before the next move takes place. Here is the start of the ogre rampage!


After wiping out a complete unit of Men at Arms, he damages another unit of Men at Arms, before going after the knights. The ogre is actually a Ceasar Miniatures plastic orc.

The tide of battle turns; the knights start their rampage.


One bold knight finally lays the ogre low! For each hit on the ogre, one of his cards are taken away. When all six cards are gone, he is dead. Luckily for the Imperial army, the ogre cards showed up after his demise.

At this point in the game the Chaos army only has two warrior units left; the Imperial army continued to draw knights cards.  The knights can be seen closing on the last of the Chaos forces. In the end the Chaos army was eliminated completely.

My next project is to try my hand at Battlelore, a Richard Borg fantasy Medieval board game.  Of course this is a card driven game........

Saturday, September 21, 2013

Looks at Books: More Military History Books

         My wife and I just got back from vacation in Maryland. We were visiting my wife's niece and family. One day everyone was out working so we took off for some sightseeing. We spent a couple of hours at a local zoo, then went to Havre DeGrace to check out the Main St., which has many antique shops.
       As we started walking the second shop we came to happened to be a bookstore.  We went in and I found a good selection of War of 1812 books. Not surprising as Havre De Grace suffered a British raid during the War of 1812 in which Admiral Cockburn plundered the town.  I found the first book shown,  " Final Invasion", a book on the Battle of Plattsburgh.  I turned the corner, and there was a whole aisle of Civil War books! Now my wife was already bored and left the store.  I started to do a quick scan of the books and figured I would quickly check the rest of the store.  It was a very small store, after all. Or so I thought until I went around the next corner and found another room, this filled with military and general history books. I dare say my mouth went dry and found myself getting very nervous at the time I was spending hunting through the shelves.  There were many Osprey books, of which I picked up four.  I quickly picked up some other books, as shown below.  Next visit I will have to take off by myself so I can browse at leisure. I best start putting some money aside.
I had many of the War of 1812 books; this is one I didn't so it was a must buy.

I very nice book illustrated with photos of reenactors.

A nice general history with great color illustrations of the uniforms of the period.

I actually bought this one on Ebay the day I left for Maryland.  I was waiting for me when I got home.

Sunday, September 15, 2013

Battling Peter Laing Ottoman Turks

       My order  of Peter Laing Turks came in right before my wife and I were leaving for a week vacation.  I wanted to get a quick wargame in before leaving. The armies lists in The Hordes Of The Things seems to be a great source for wargaming armies.  Amongst them is an army for the adventures of Baron Munchausen.  Watching the movie, the Baron is in a city besieged by the Ottoman Turks.  Needless to say, this gave me an idea for a game. However,  there is no Ottoman army listed in HOTTs rules I have. However, online someone made additional rules for HOTTs and also had added an Ottoman army to the list.  So now I had my two armies. The Army of Baron Munchausen is based on the Russian army. Unfortunately, I don't have a Baron Muchausen riding a cannonball figure or a balloon, so I had at substitute with more traditional units.  For the Russian Army, I used Peter Laing  War of Spanish Secession figures. For rules I used a set of simple rules from the old MWAN magazine.
Russian Army on top, Ottoman Army on bottom.

Looking down the Ottoman line. I really have to work on lighting.

The Russian cavalry have been successful in forcing back the Ottoman cavalry.

The Ottoman cavalry counterattacks and the janissaries are coming up fast.


The janissaries  start a strong attack on the Russian left.

The Ottoman center has suffered heavy losses; it is up to the janissaries to win the day.

The Ottomans rout the Russian artillery on the left.

The Russian infantry now comes into play and start inflicting heavy losses in the Ottomans.

The Russians are closing in on the Sultan himself, who now decides that the day is lost.

I haven't used these rules in a while and forgot how much fun I have with them. While they are "Horse & Musket" rules, in the past I changed them to use for Medieval and WW2. I am going to take them with me and try to change some of the rules I have trouble with.

Friday, September 13, 2013

15mm Peter Laing Ottoman Turks

         I recently bought several lots of Peter Laing Ottoman Turks.  I've long been interested in the Ottoman Empire during the 1400s through 1600s. The figures are all I hoped they would be. Most of the foot figures were painted the same. They are painted high gloss. I experimented by painting just the uniform, leaving the rest of the figure alone. Then I coated it with a high gloss varnish.  At least if I choose to repaint them, I won't have to paint the entire figure. The original owner did a better job than I could.


Wednesday, September 11, 2013

15mm Peter Laing Knights

Peter Laing seems to get a bad rap for detail. However, as can be seen by these photos with a good paint job they can be quite handsome little figures.


Needless to say, I didn't paint these figures.